
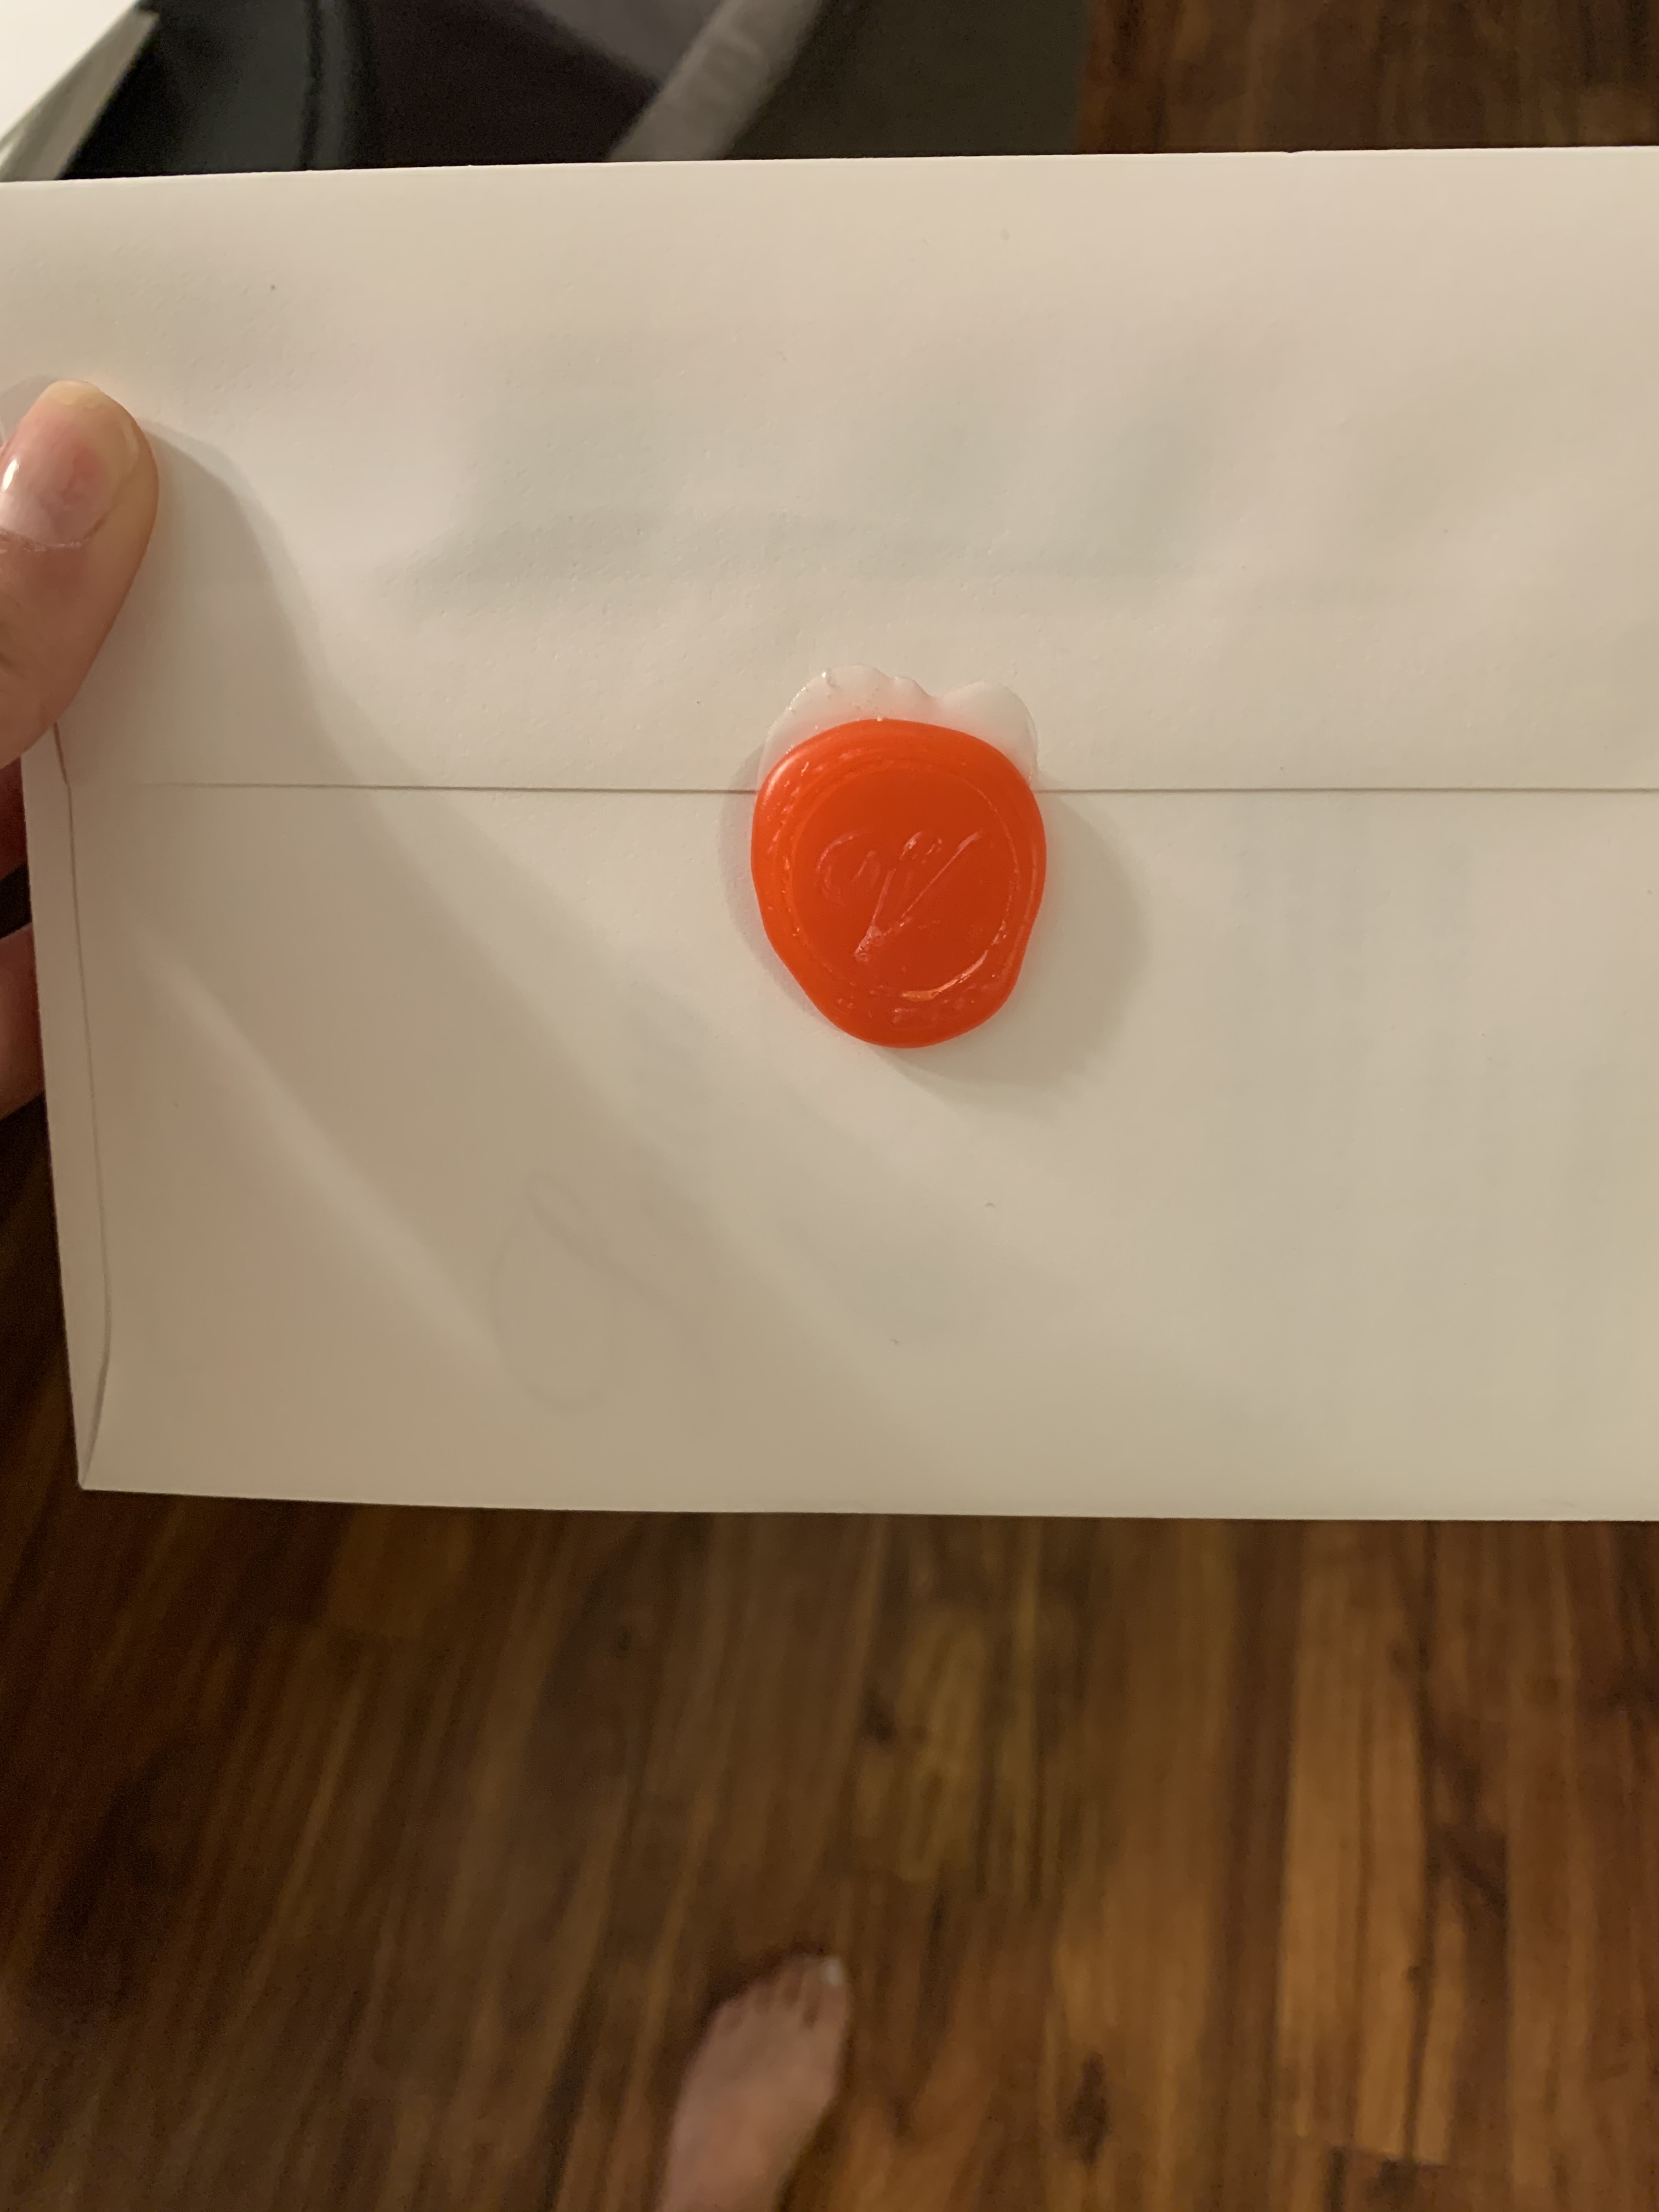
Ok I’m so so excited about the work we did for our wax seal on our invites! Did it get messed up in the mail? People told me it didn’t! Were they lying? Idk. Maybe. But this detail was one we just couldn’t pass up.
Check out the “how” with pics below!
Here’s what you’ll need:
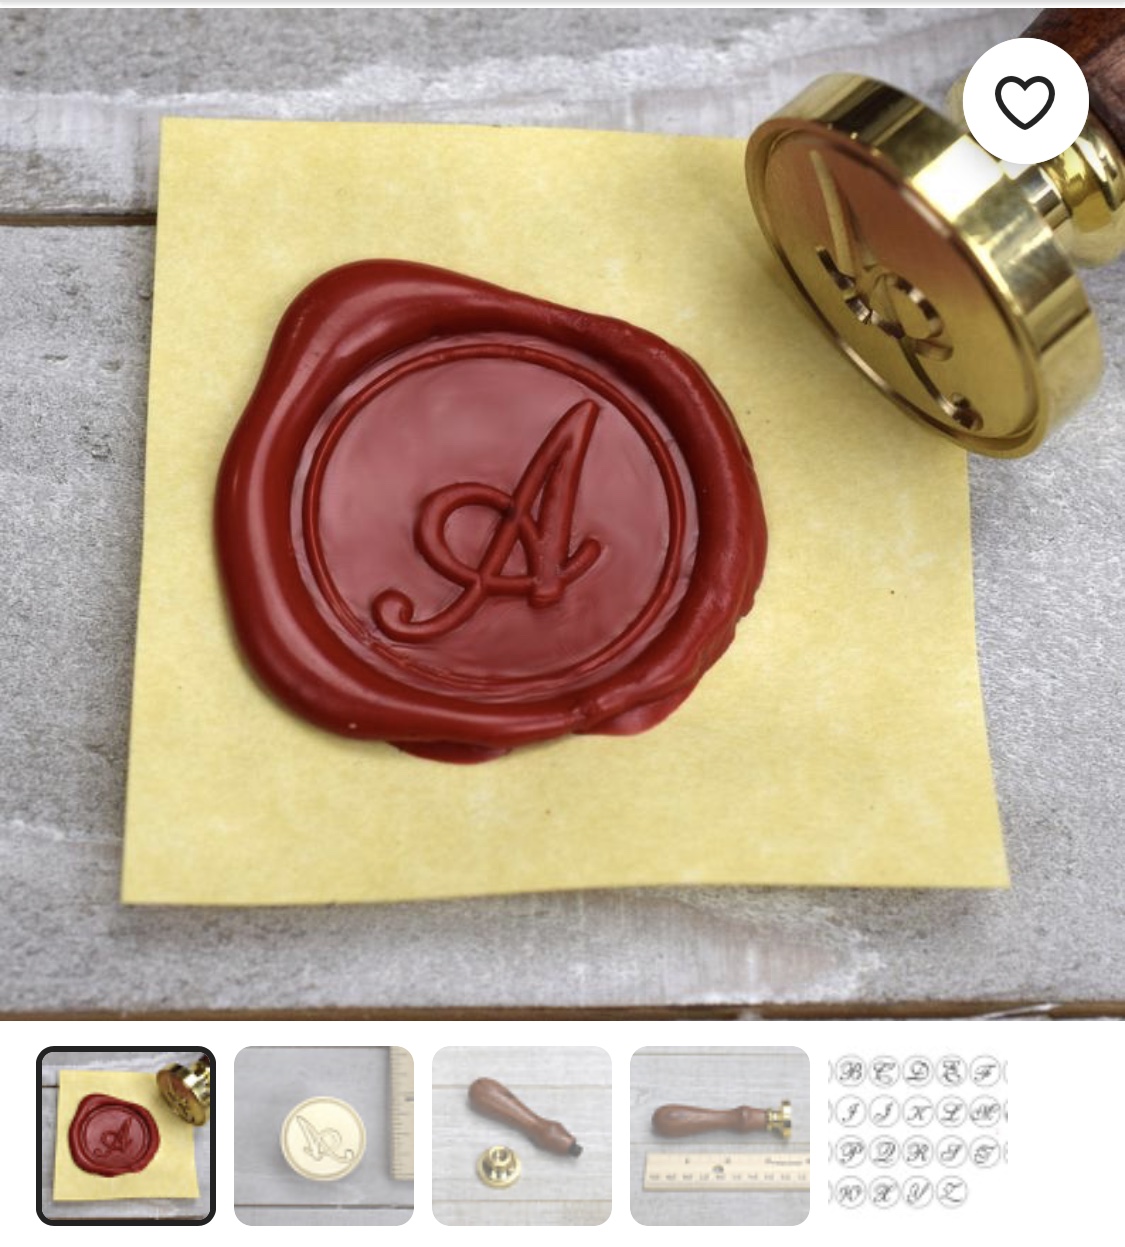

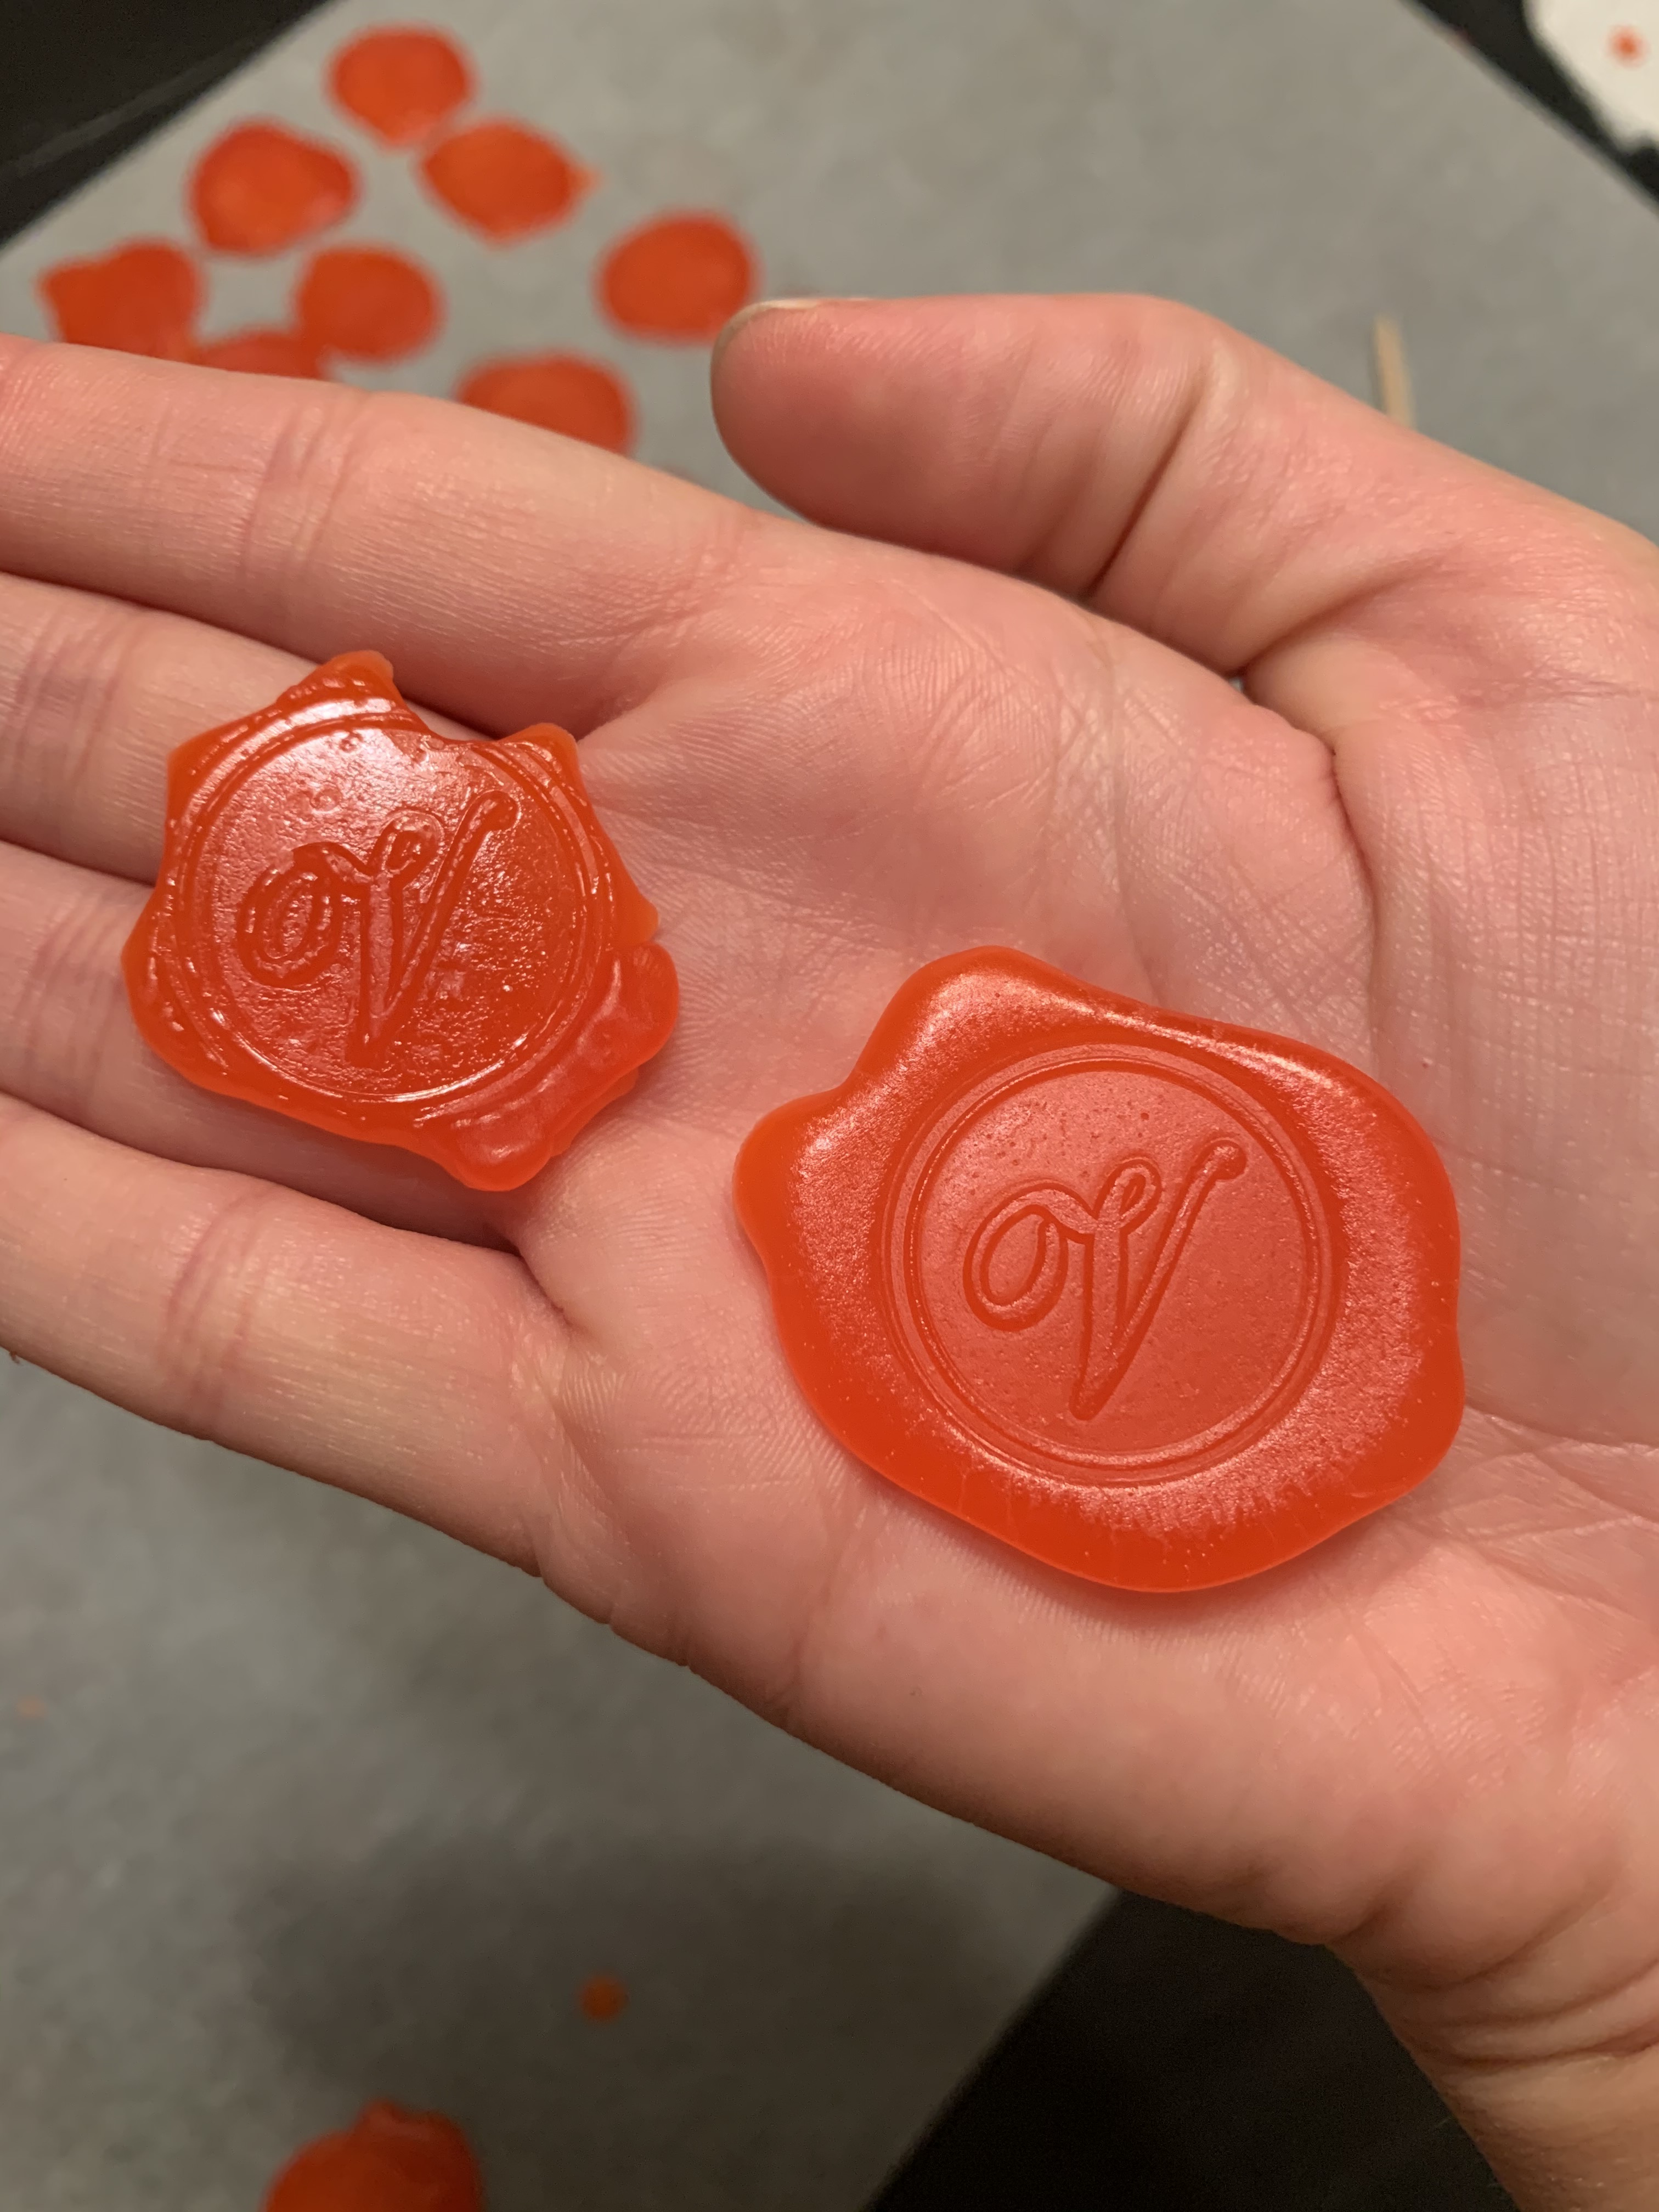
Wax Seal Stamp – Picking out the wax seal stamp you want is the first step! I searched Etsy, Hobby Lobby, and Amazon. We got a “V” for Travis’ last name – Vander Linden! The one we used it linked here. It worked great!
Etsy has a lot of different styles. Hobby Lobby has an entire alphabet kit, a Mr. & Mrs. stamp, and a Thank You stamp for notes. Our stamp head is made out of metal. Some are made out of wood, which I think would be harder to use.
Wax Dye – We wanted our wax to be dyed for our wedding colors. We definitely did trial and error with some of the colors – ha! We used this kit from Amazon and had plenty of colors to choose from.
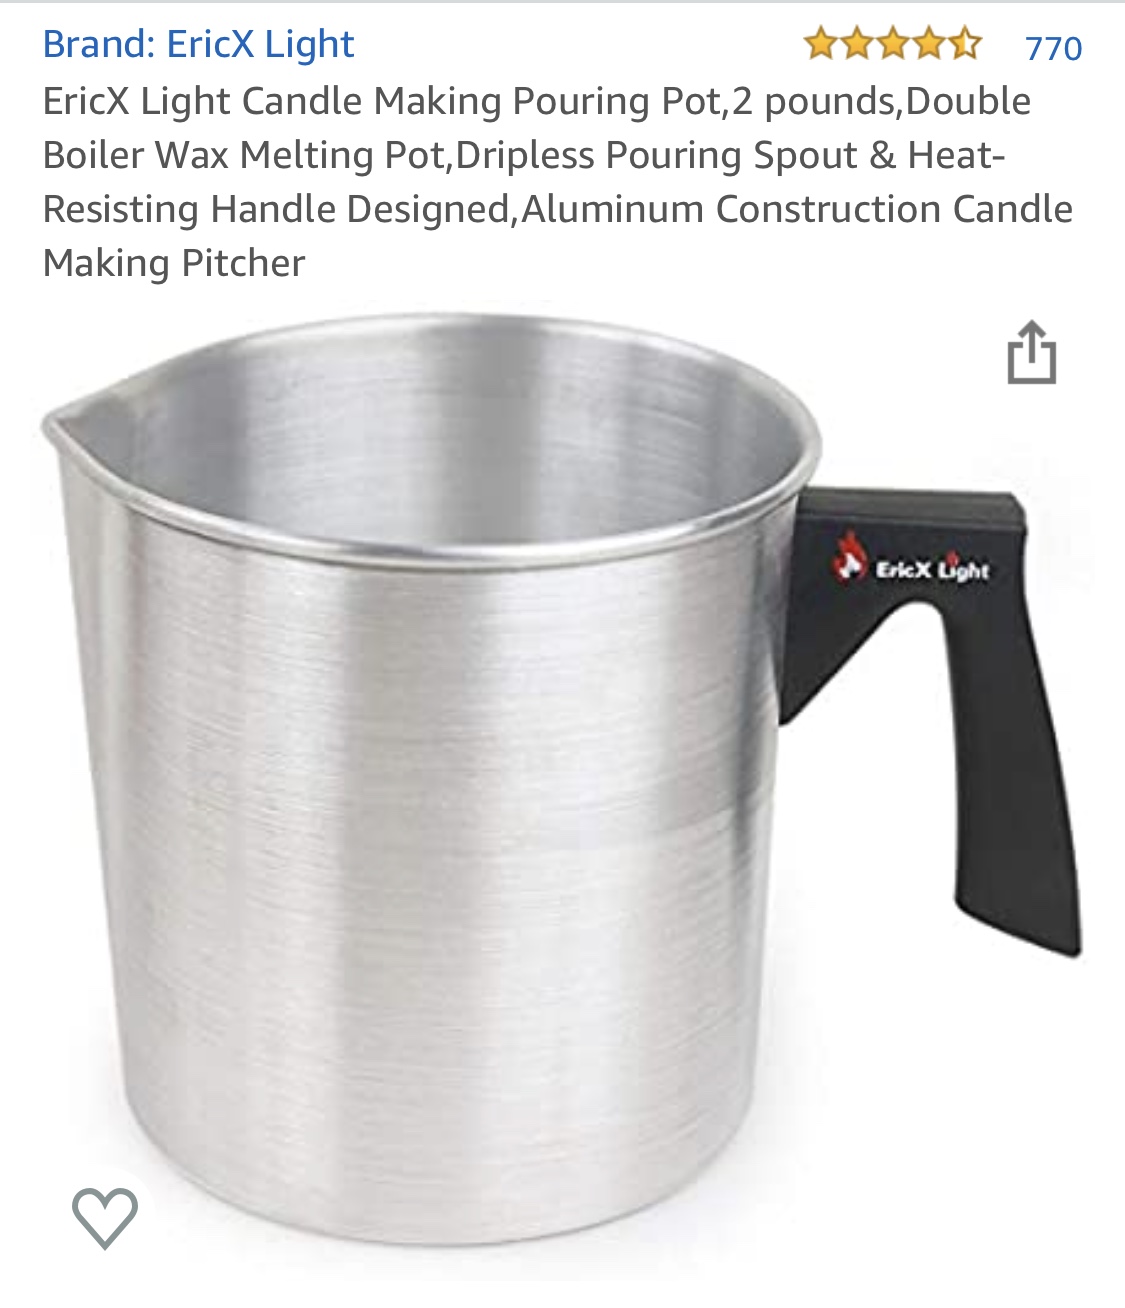
Wax Pouring Pot – Okay, this was the item that I was like…really? $20 on a pouring pot? Why can’t I just use a pot on the stove. After doing this I’d say it’s definitely worth the investment. Once wax hardens, it’s very difficult to get off and the pouring spout made this much easier than using a kitchen pot. Here’s what we used.
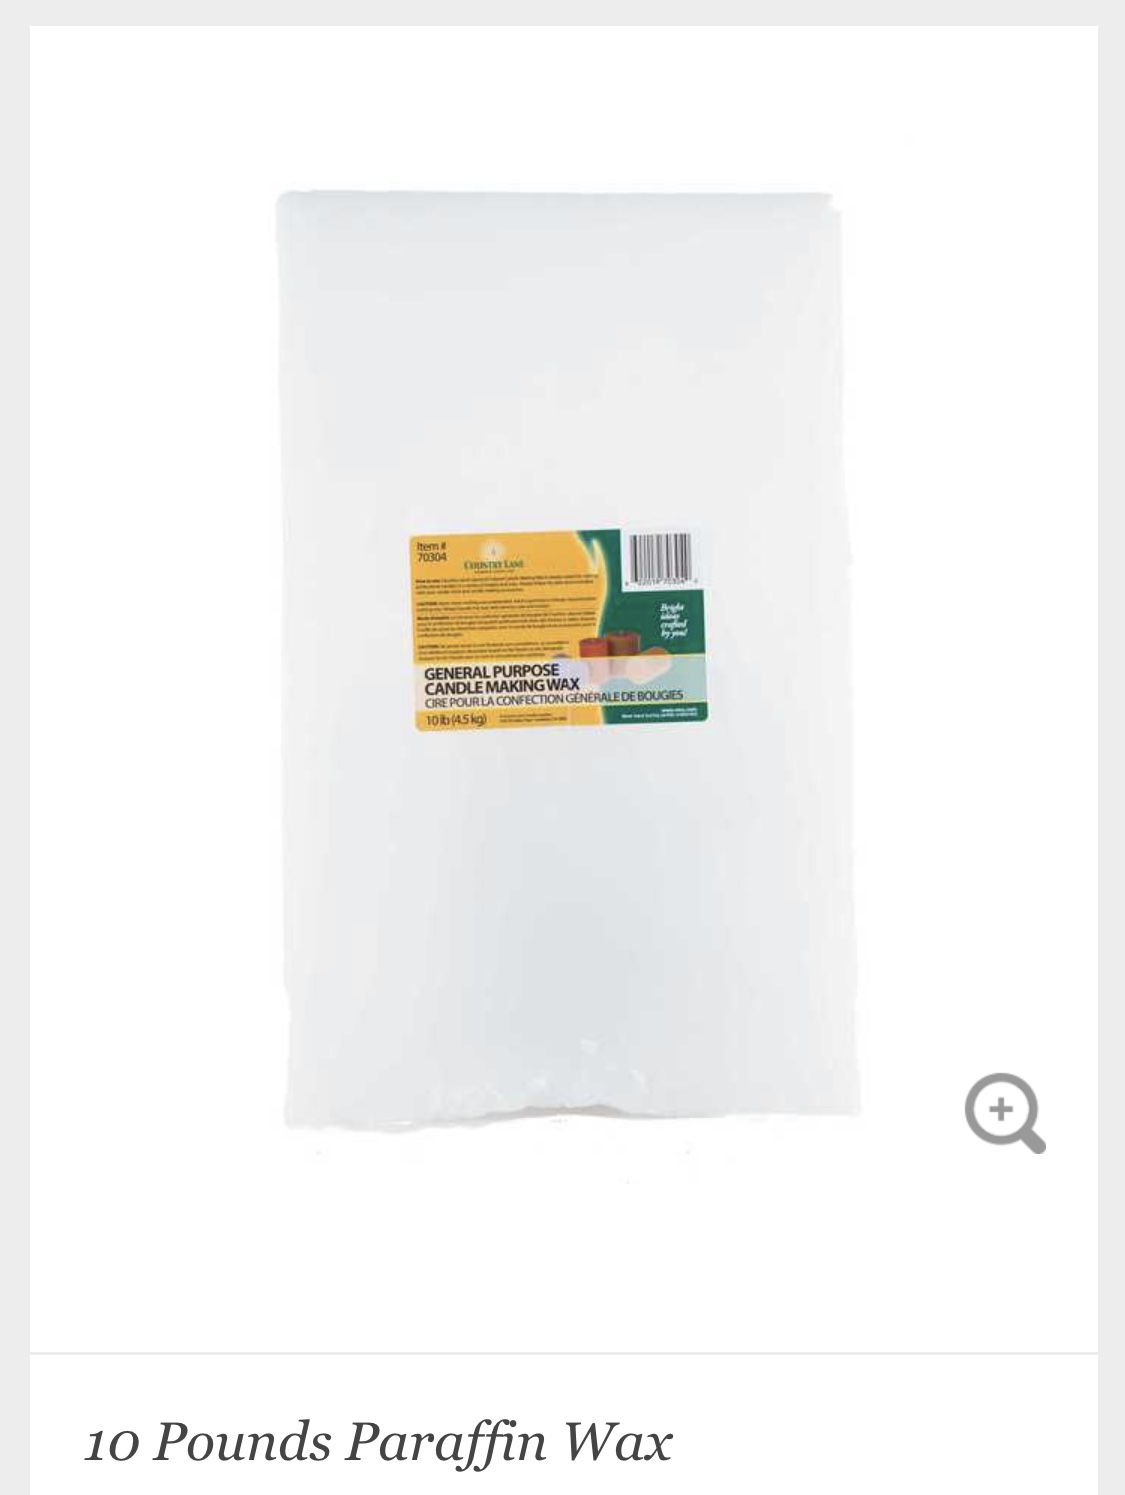
Wax – A little obvious but don’t forget your wax! I got a paraffin wax from Hobby Lobby that melted really well for this. Word to the wise…you will not need 10 pounds. But it’s linked here regardless. There is a 1 pound option so unless you channel your inner Jan from The Office and want to start your own candle making company, I’d recommend 1 pound.
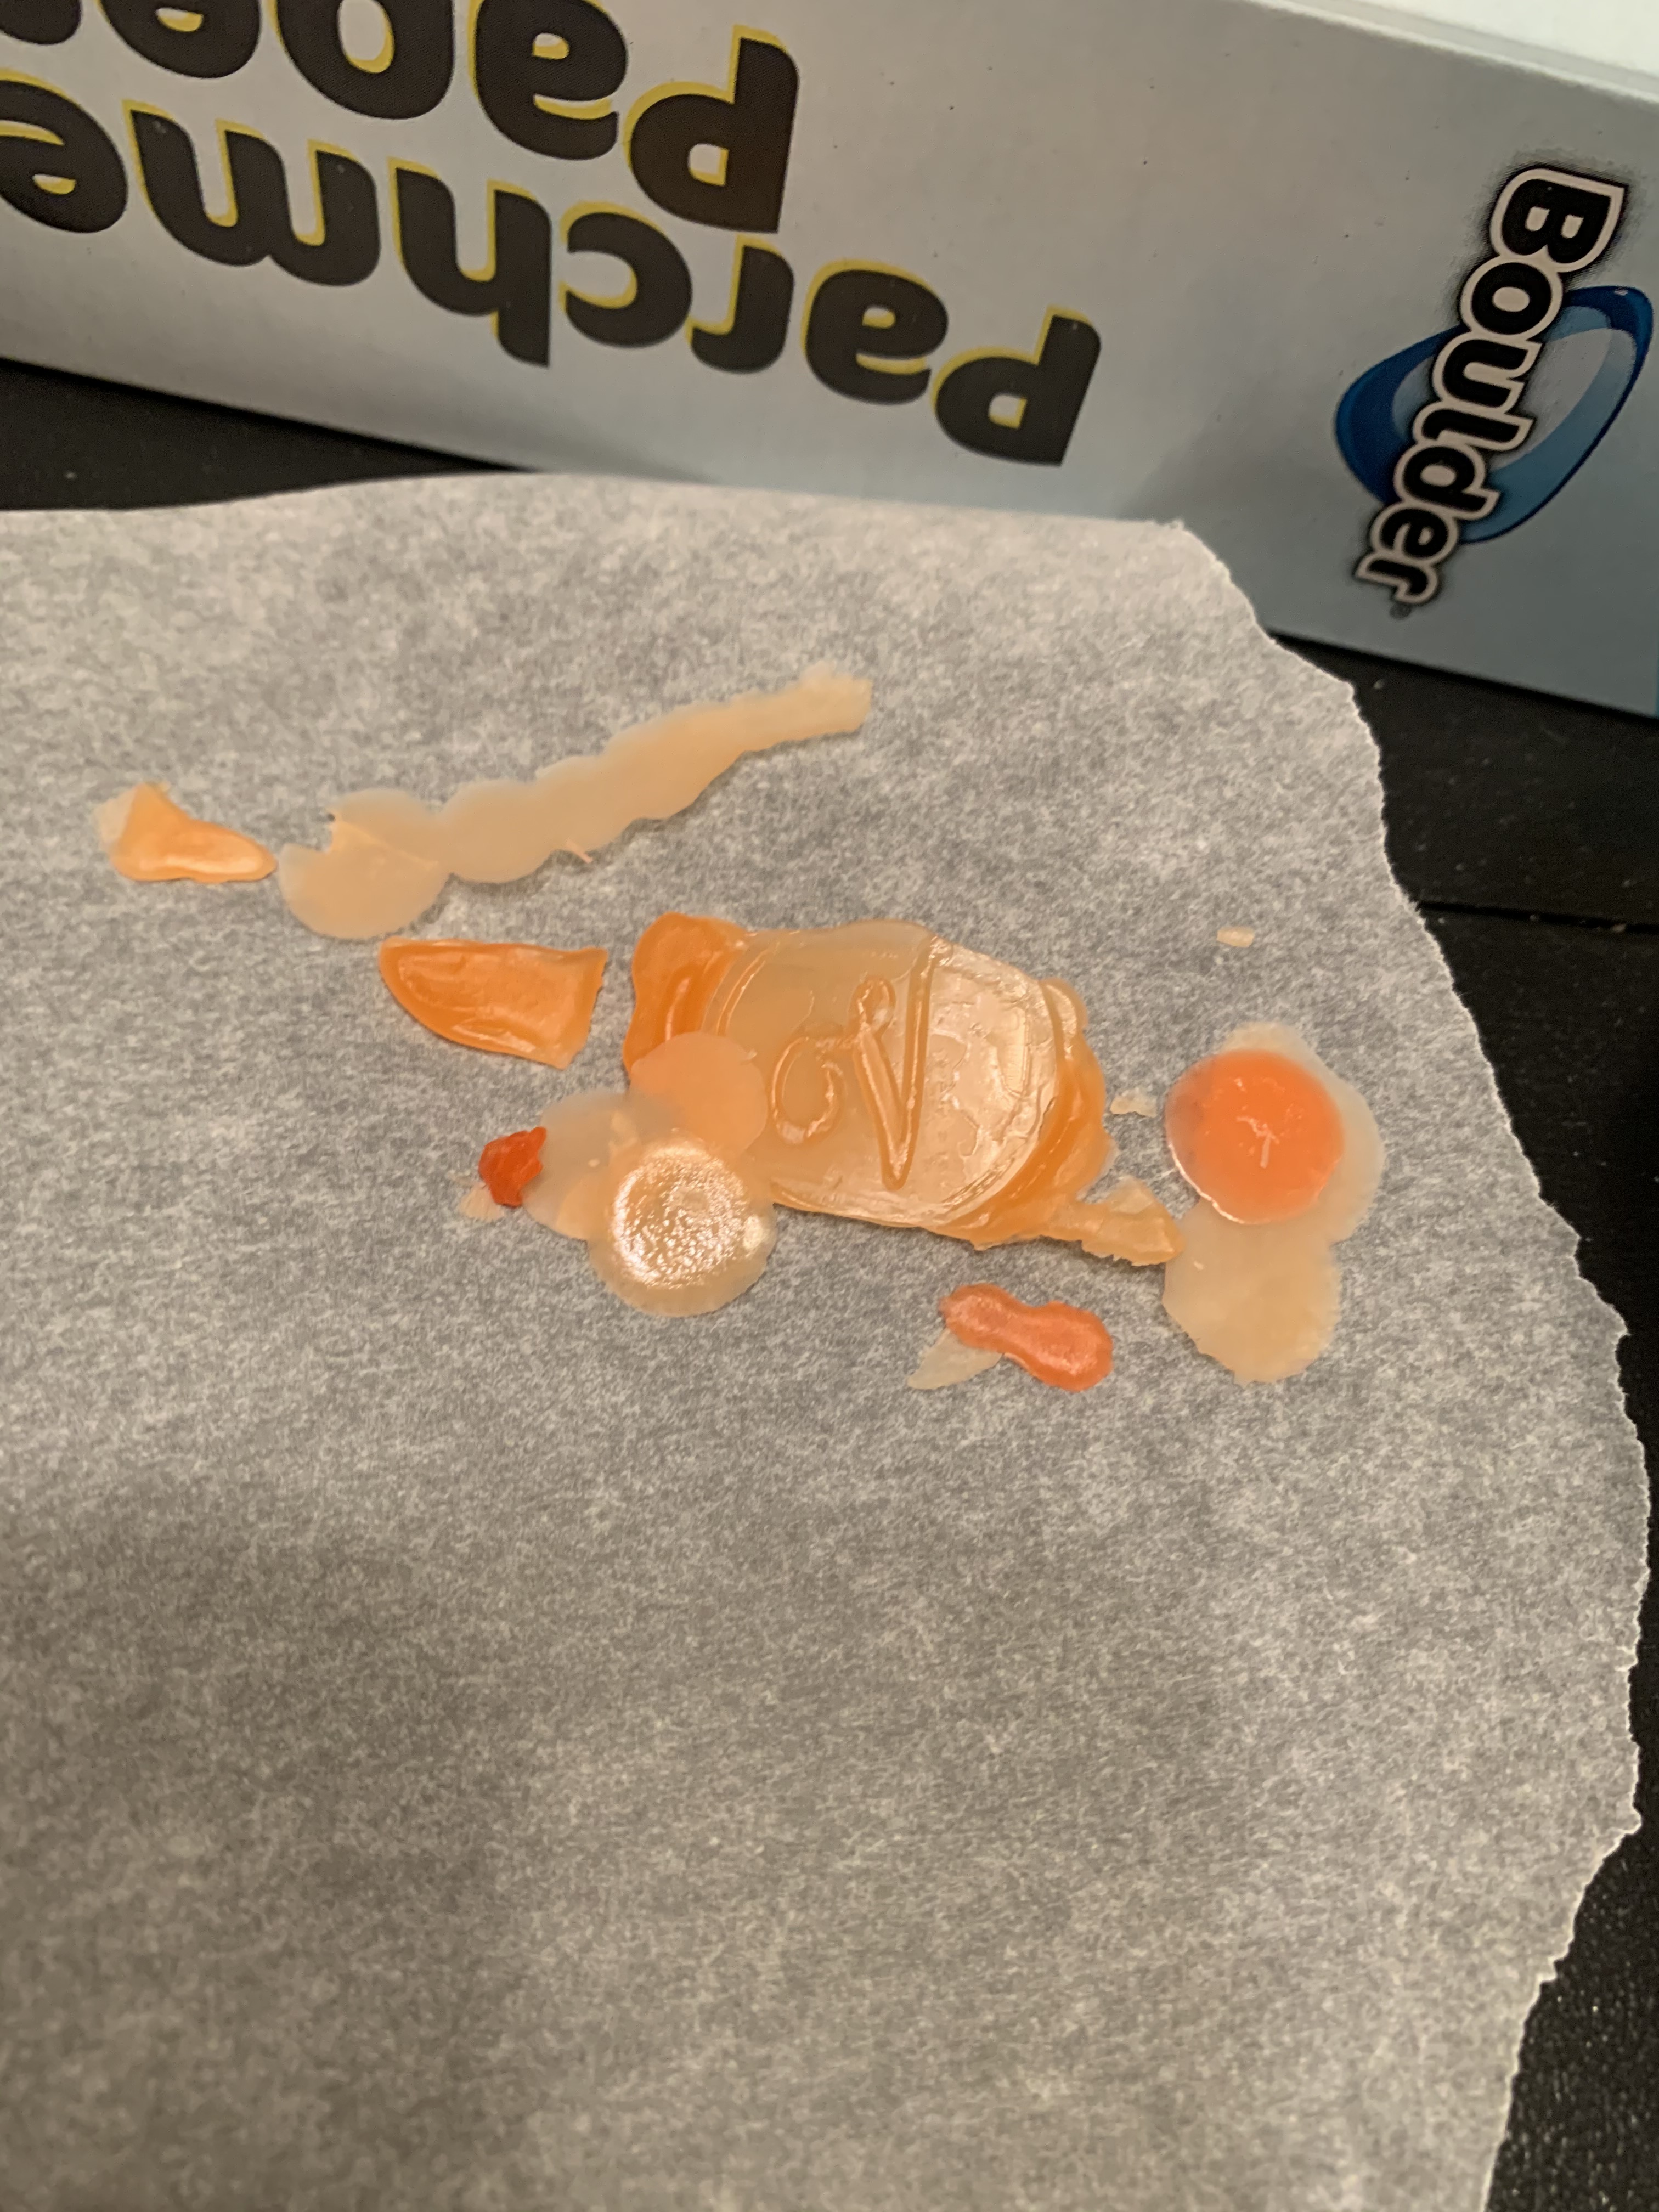
Parchment Paper – We used this to make the wax seals on, then we peeled off the wax seals and glued them onto our envelopes. It was MUCH easier than trying to make perfect wax seals on the envelopes and worrying about ruining your invites.
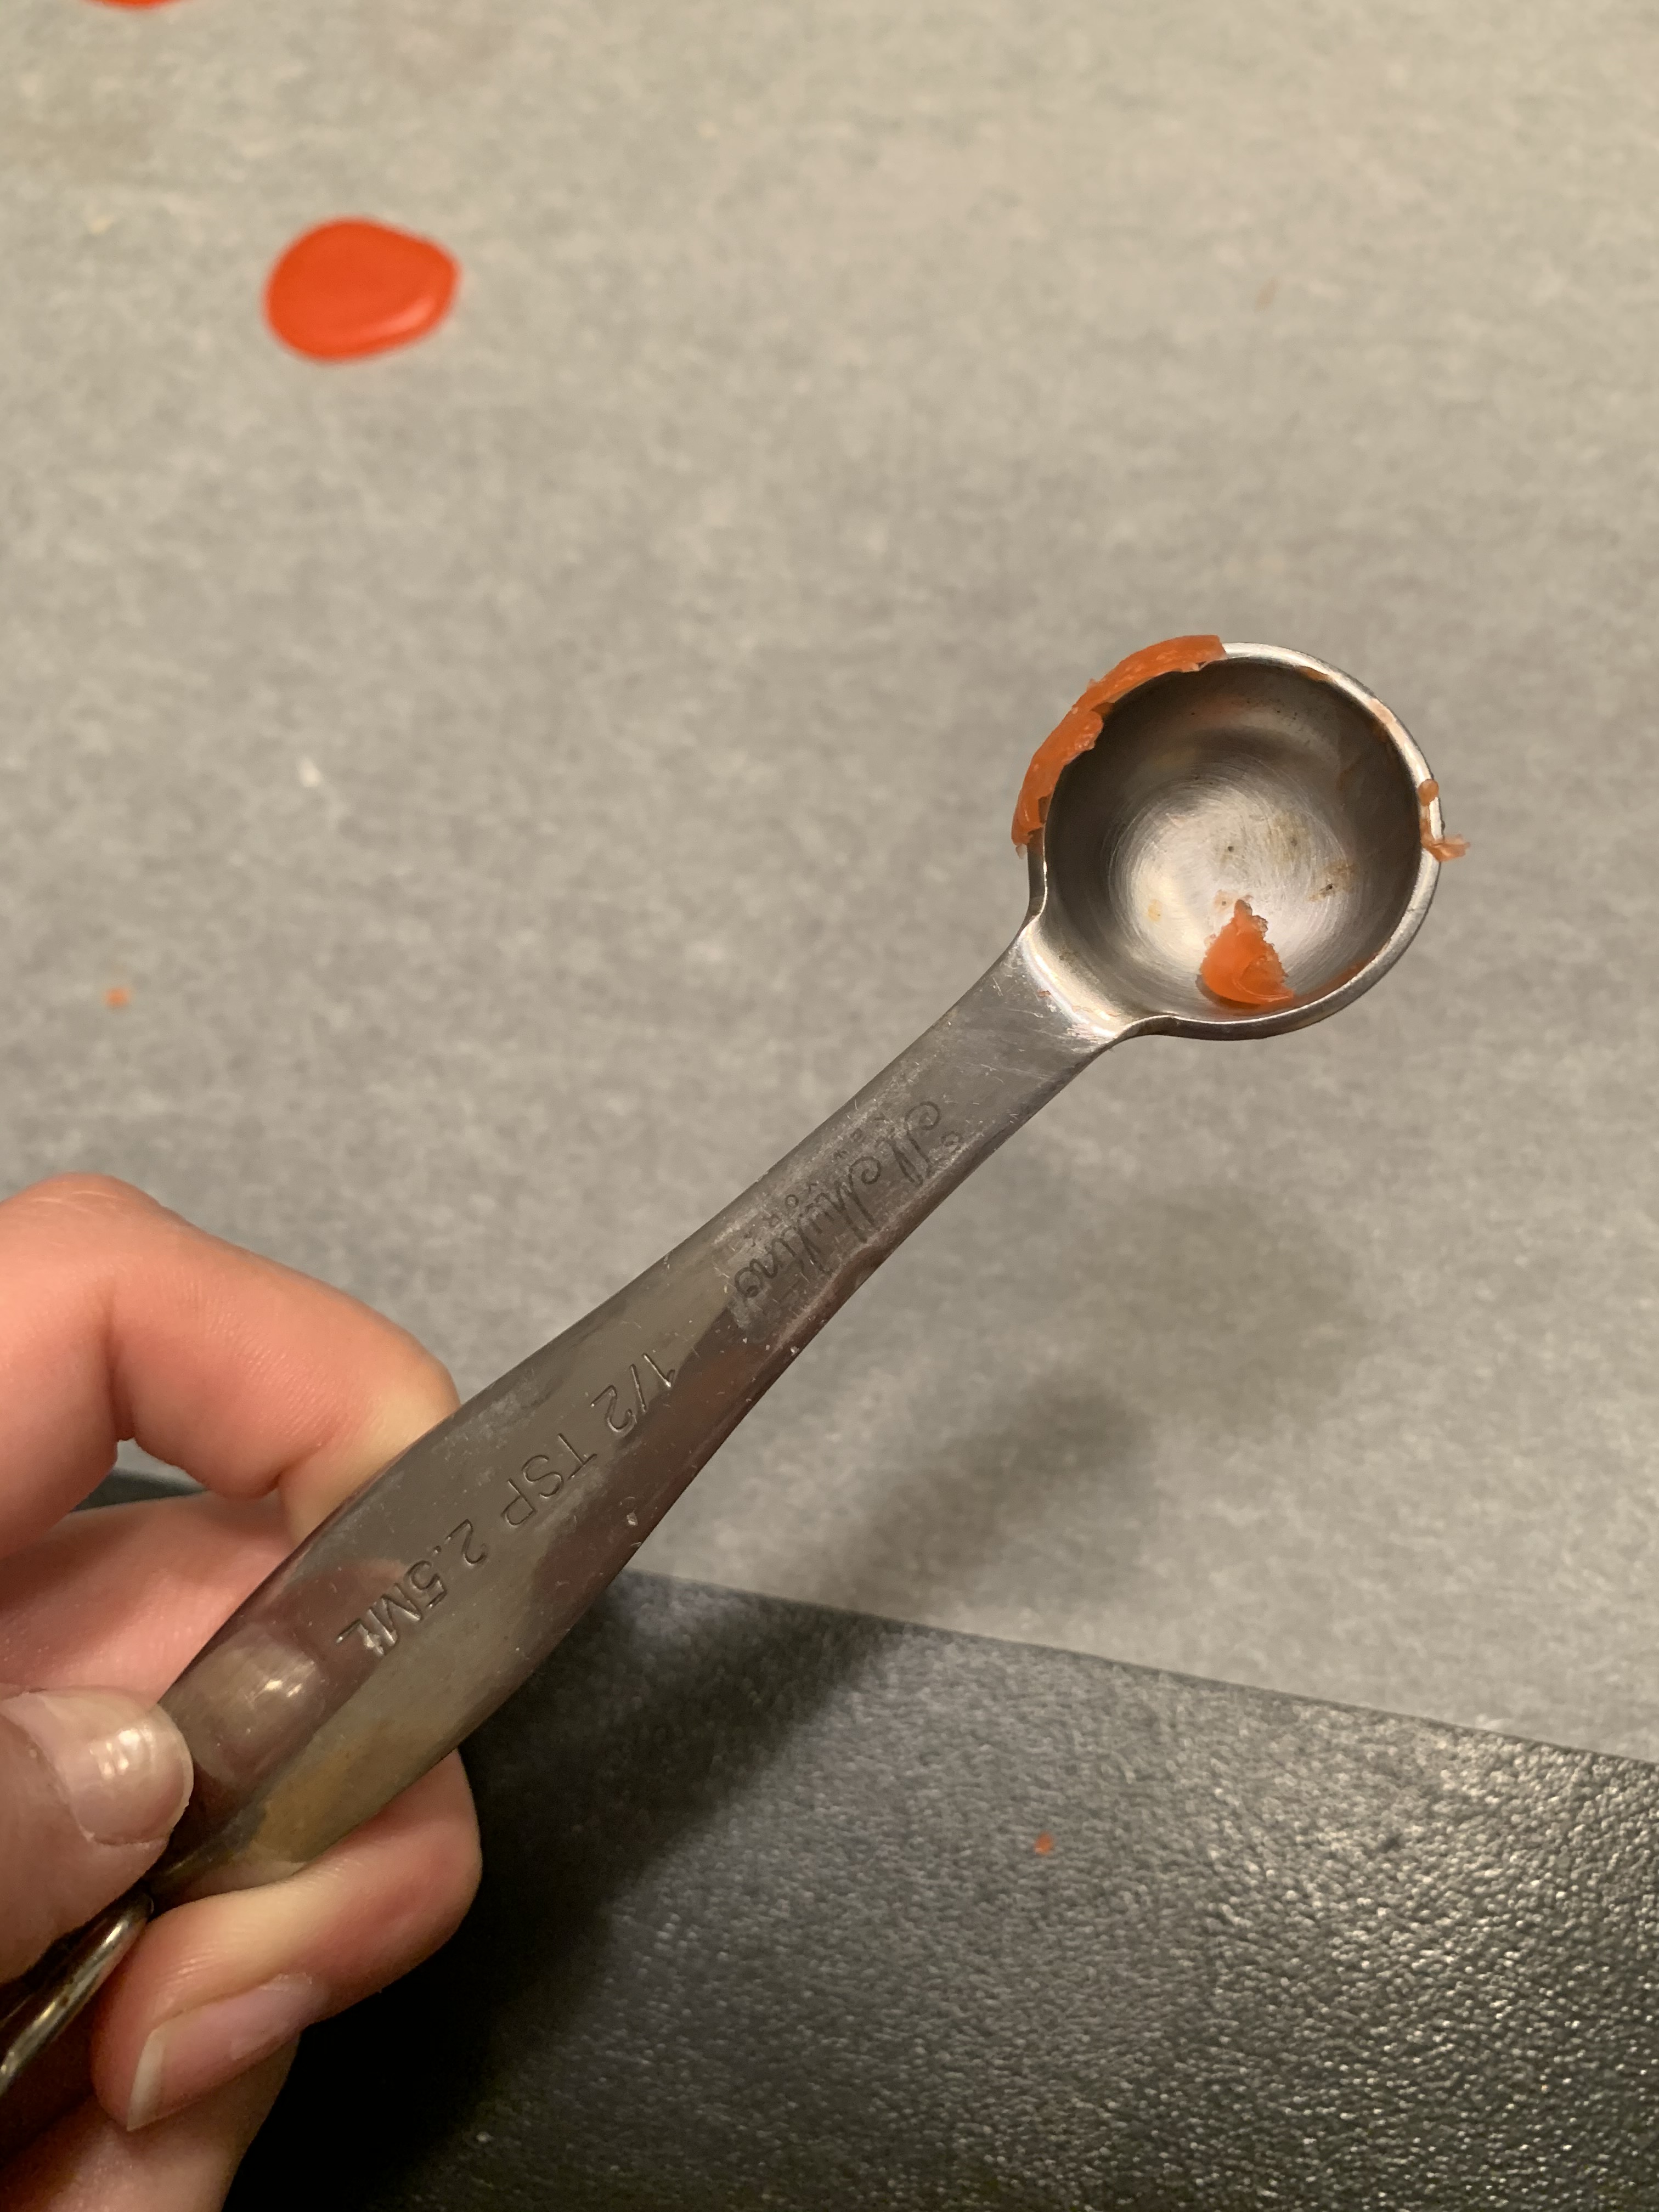
Measuring Spoons (optional) – We used a 1/2 teaspoon measuring spoon to portion out the wax seal, then pour it onto the parchment paper in a circle. It was just about the perfect size – especially once wax started building up in it.
Strong Adhesive – We used this gorilla glue to glue the wax seals onto the invites. I’m told they lasted through the mail for most people!
Now for the How-To:
First, melt your wax with your color dye in the wax pouring pot
We used a chunk of wax that filled our entire palm and about an entire packet of the wax dye that way it would look rich. The first one we tried was really thin and did not have enough dye (see below).
While the wax is melting, set up your wax seal making station!
We used a metal 1/2 teaspoon measuring spoon to pour the wax into it, then onto parchment paper.
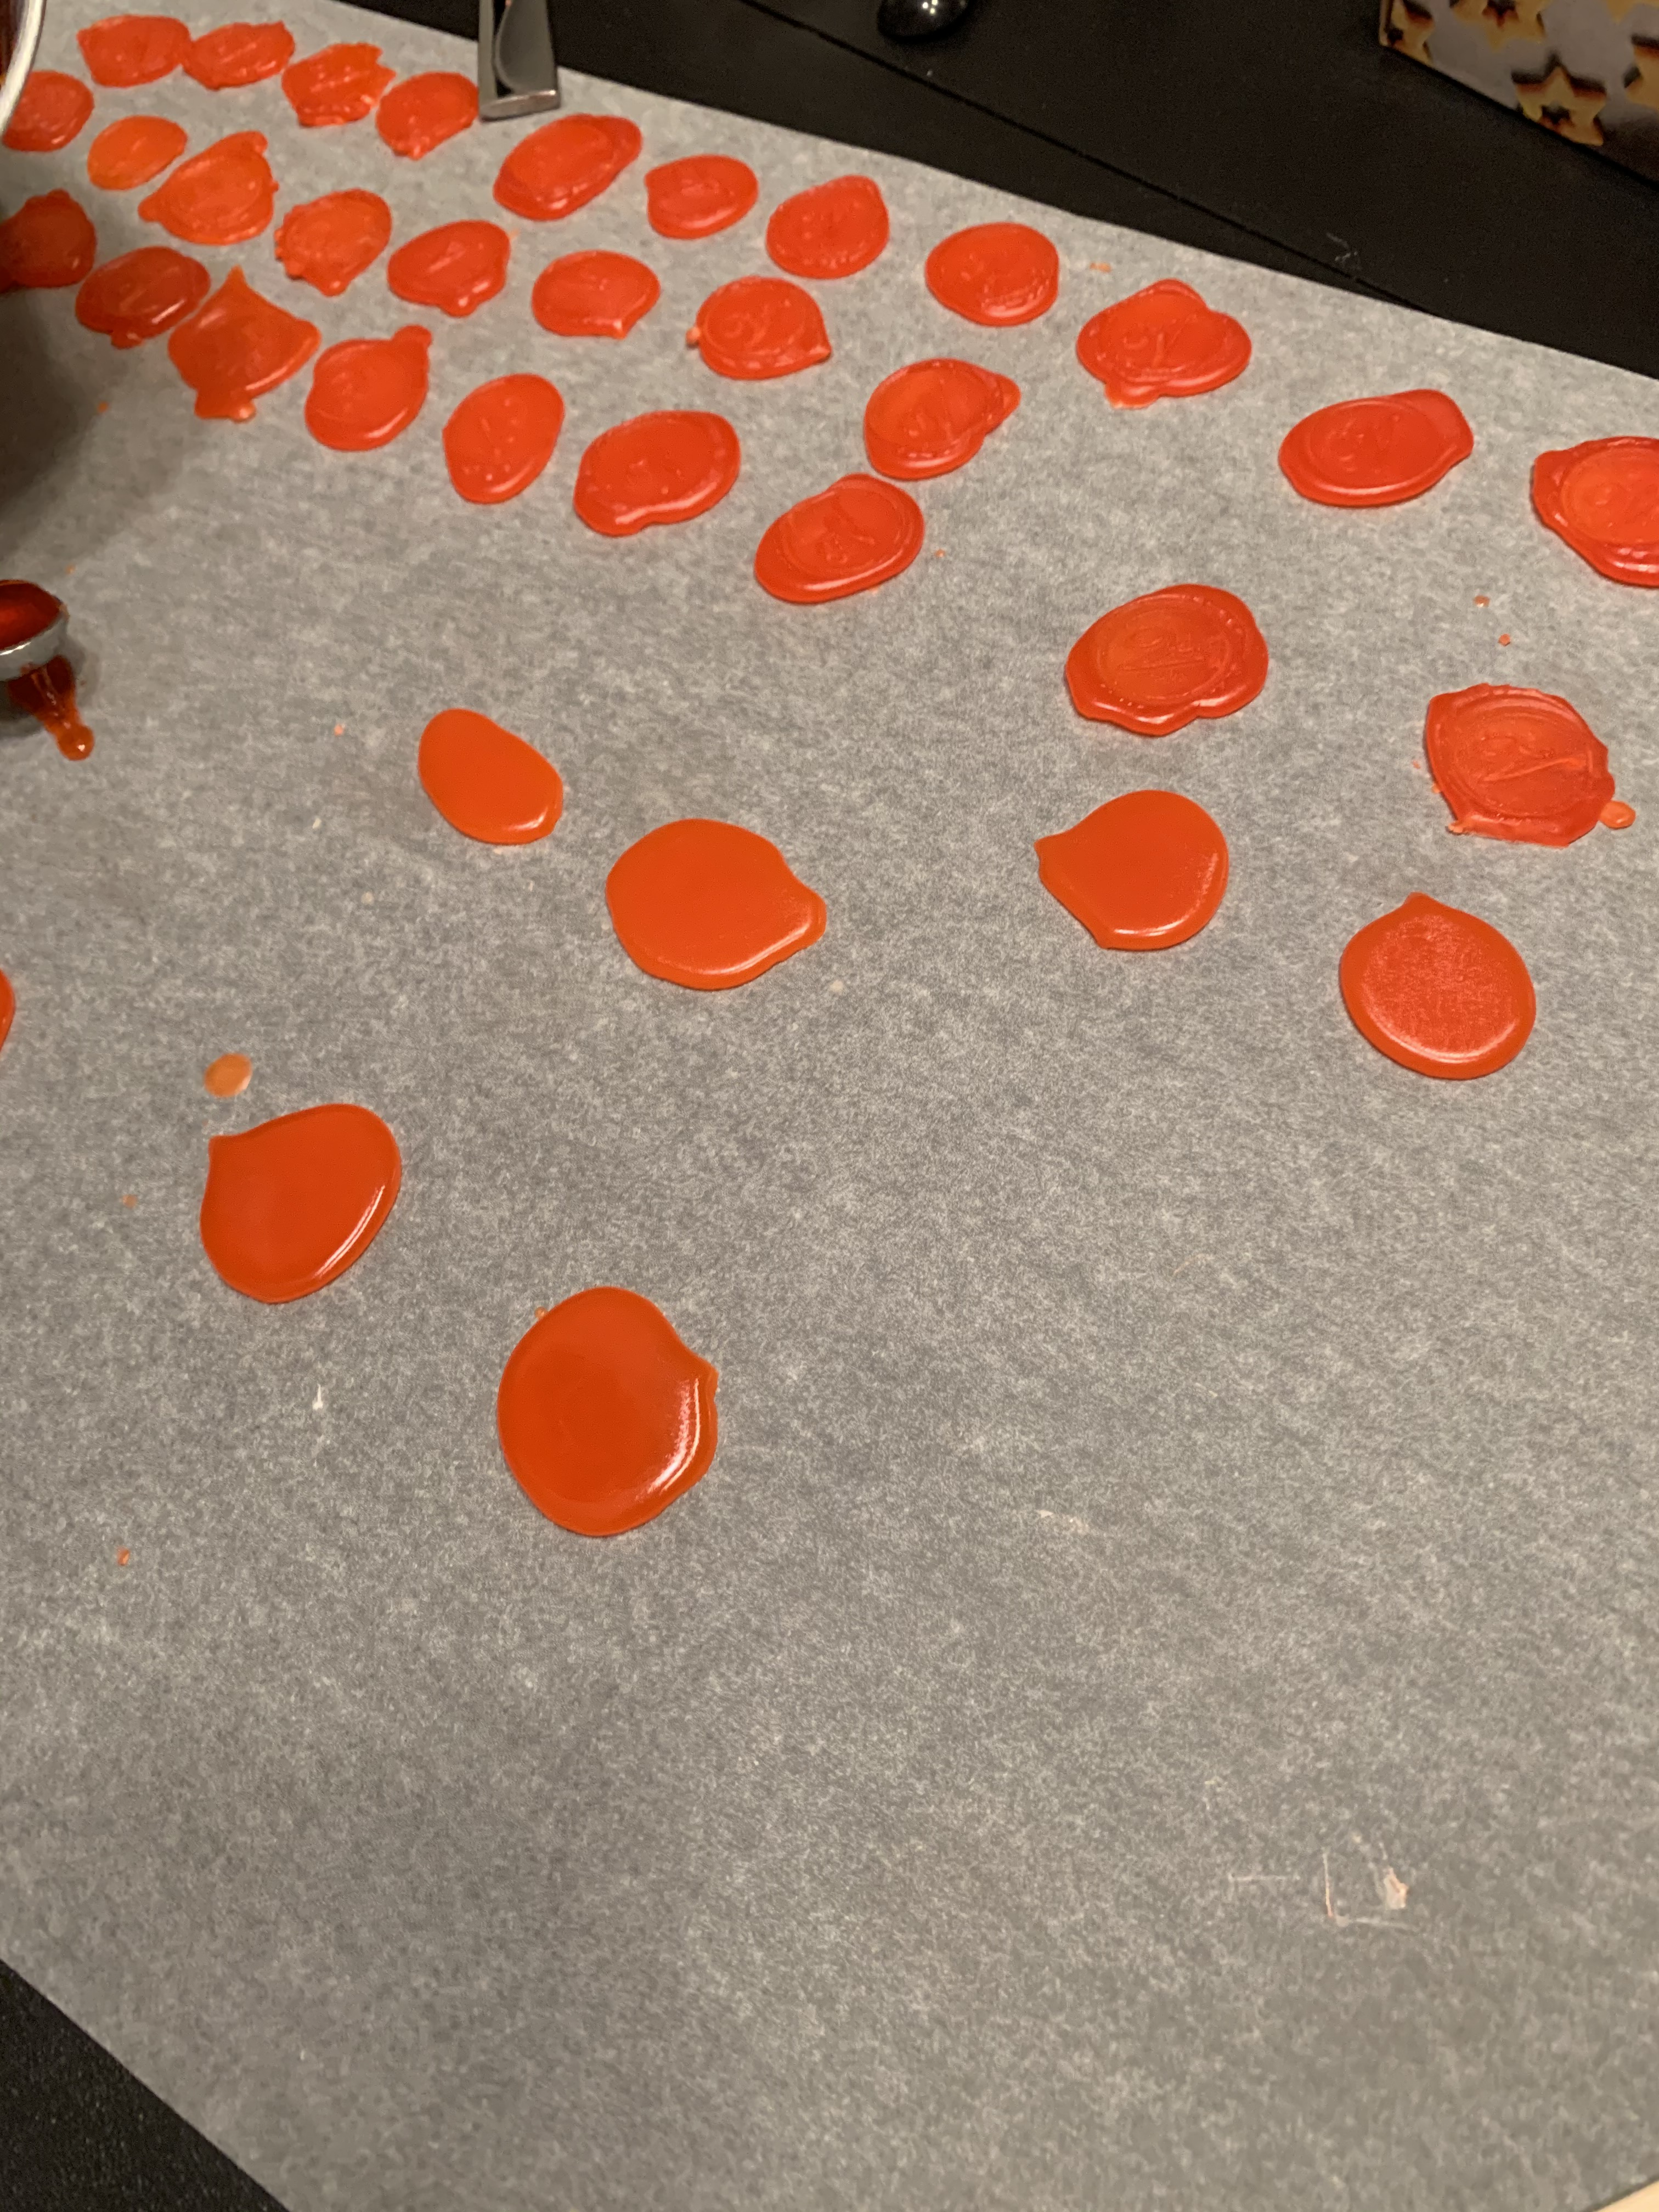
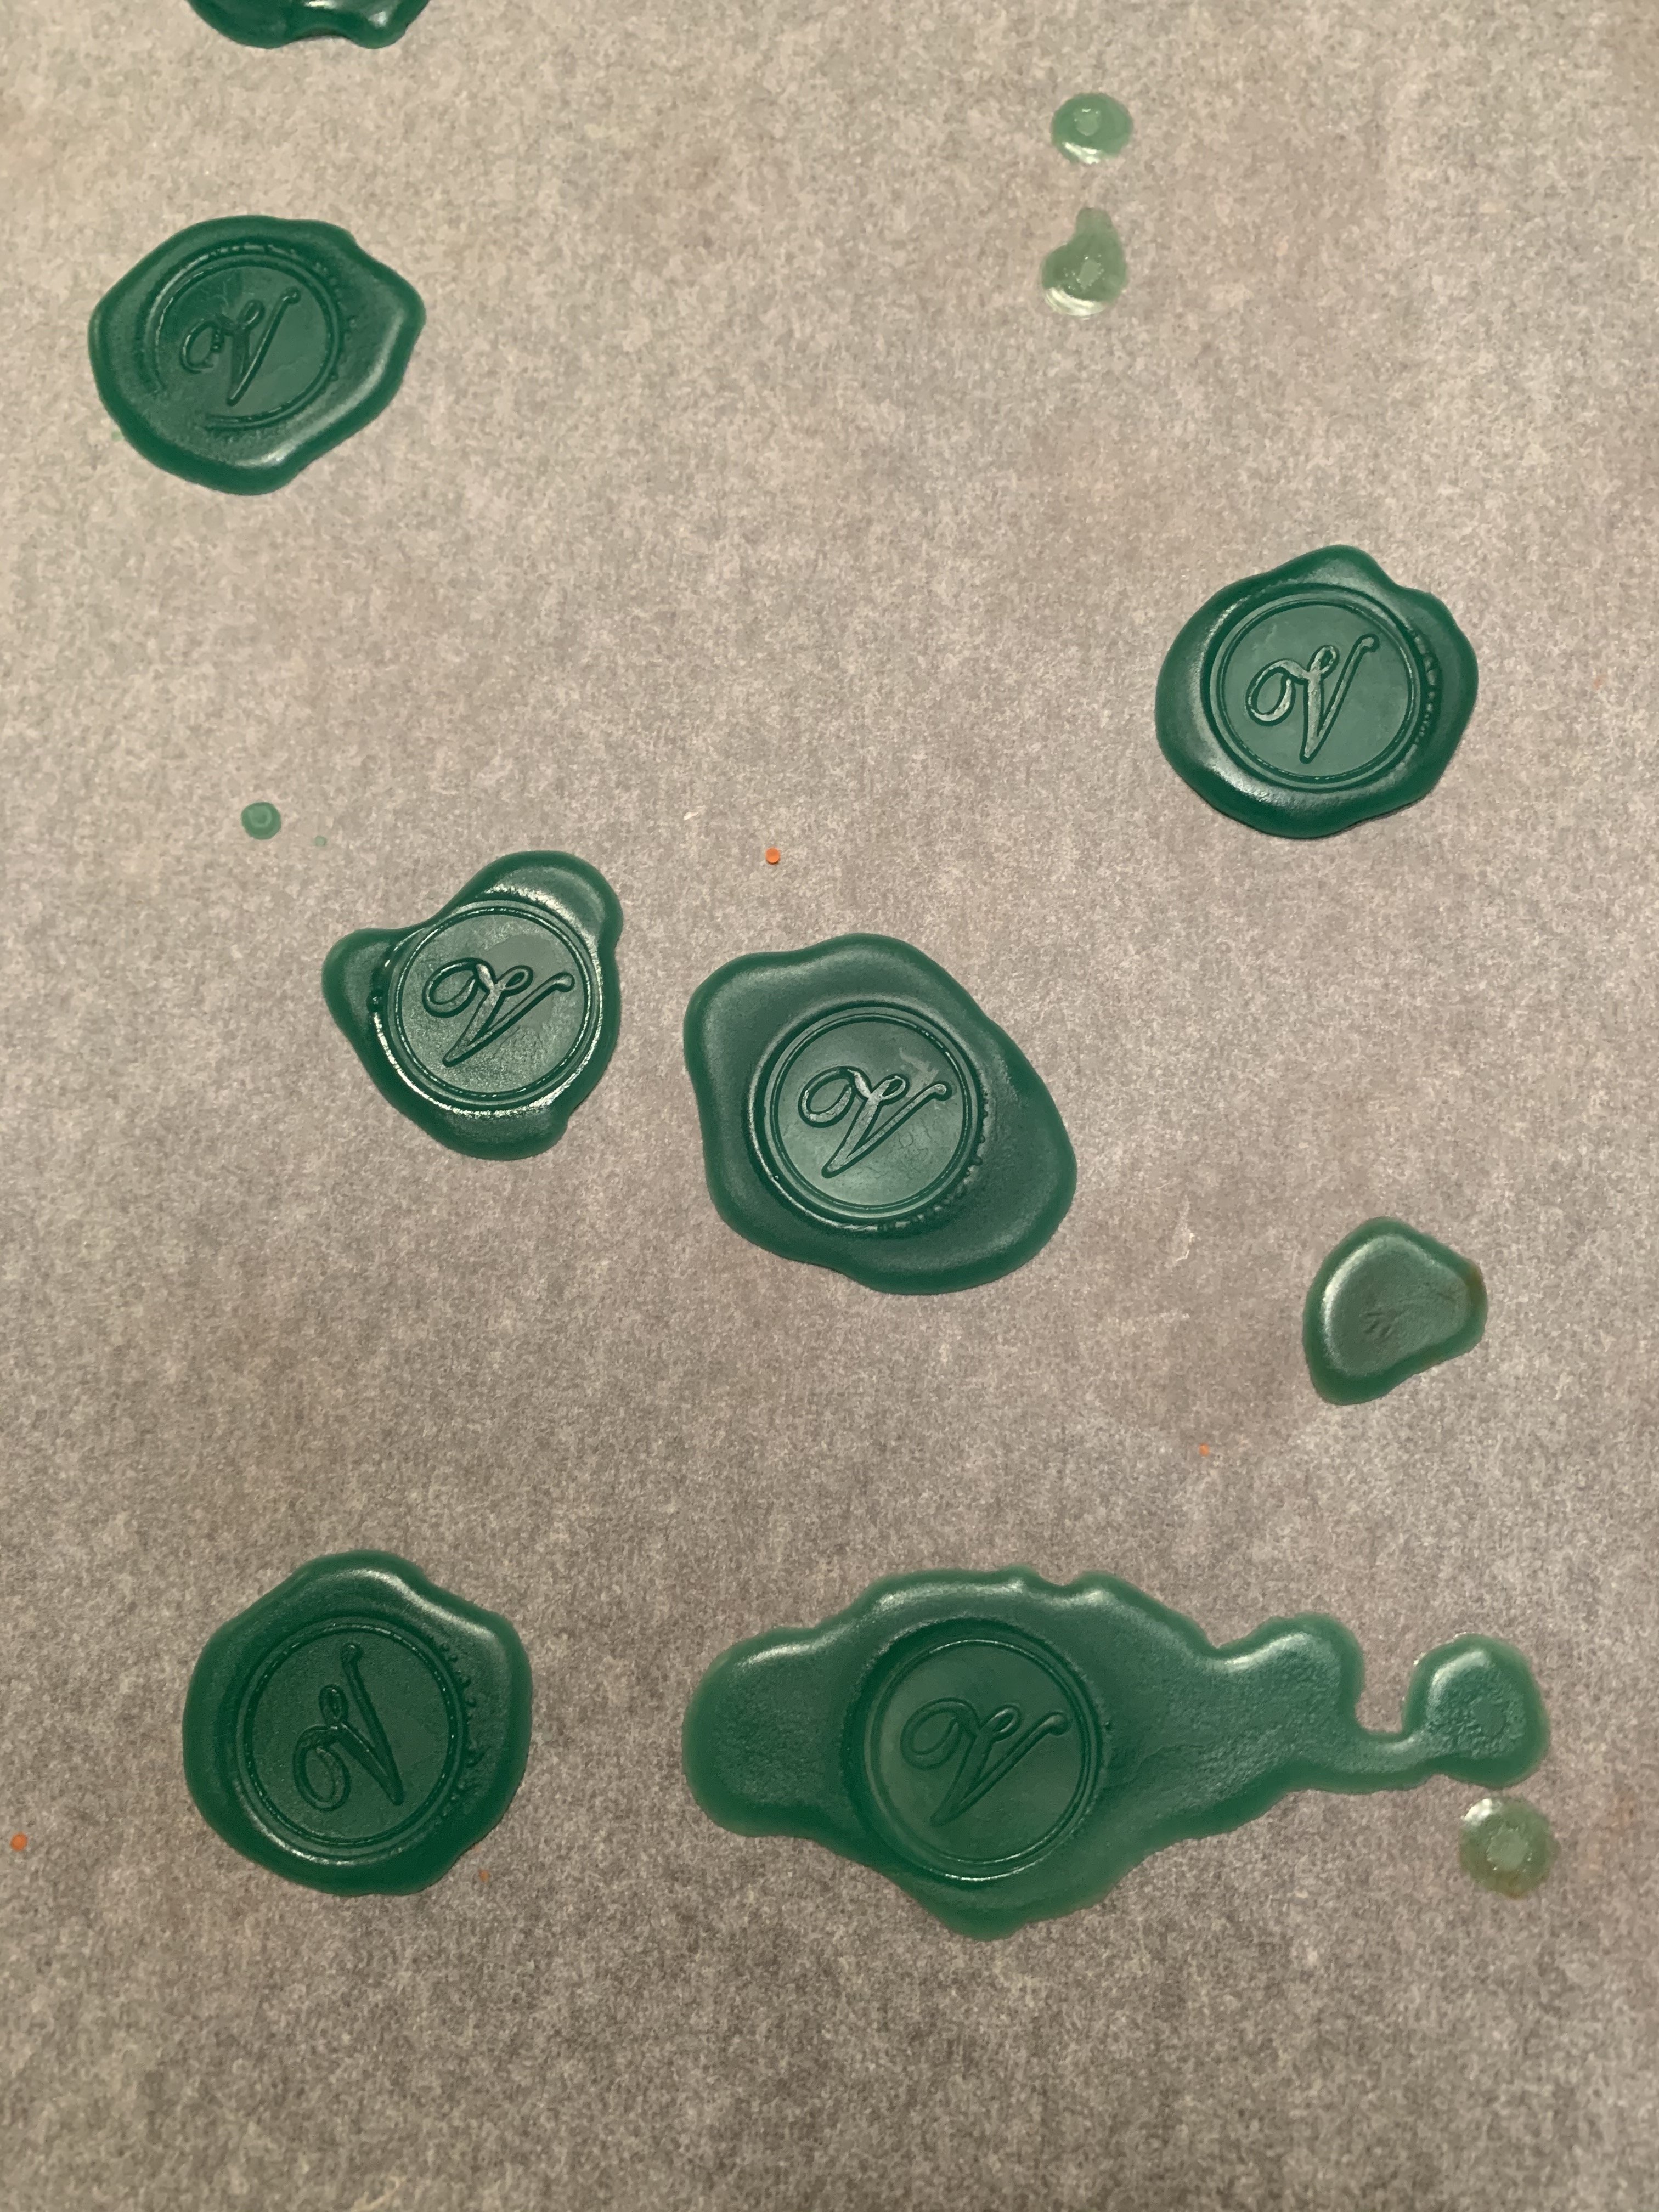
Next, it’s time to pour out your wax circles!
Pour your melted and dyed wax into your measuring spoon, then pour it onto the paper. The measuring spoon really helps you get consistent-sized circles but, as you can tell from the pic below, practice makes perfect ;).
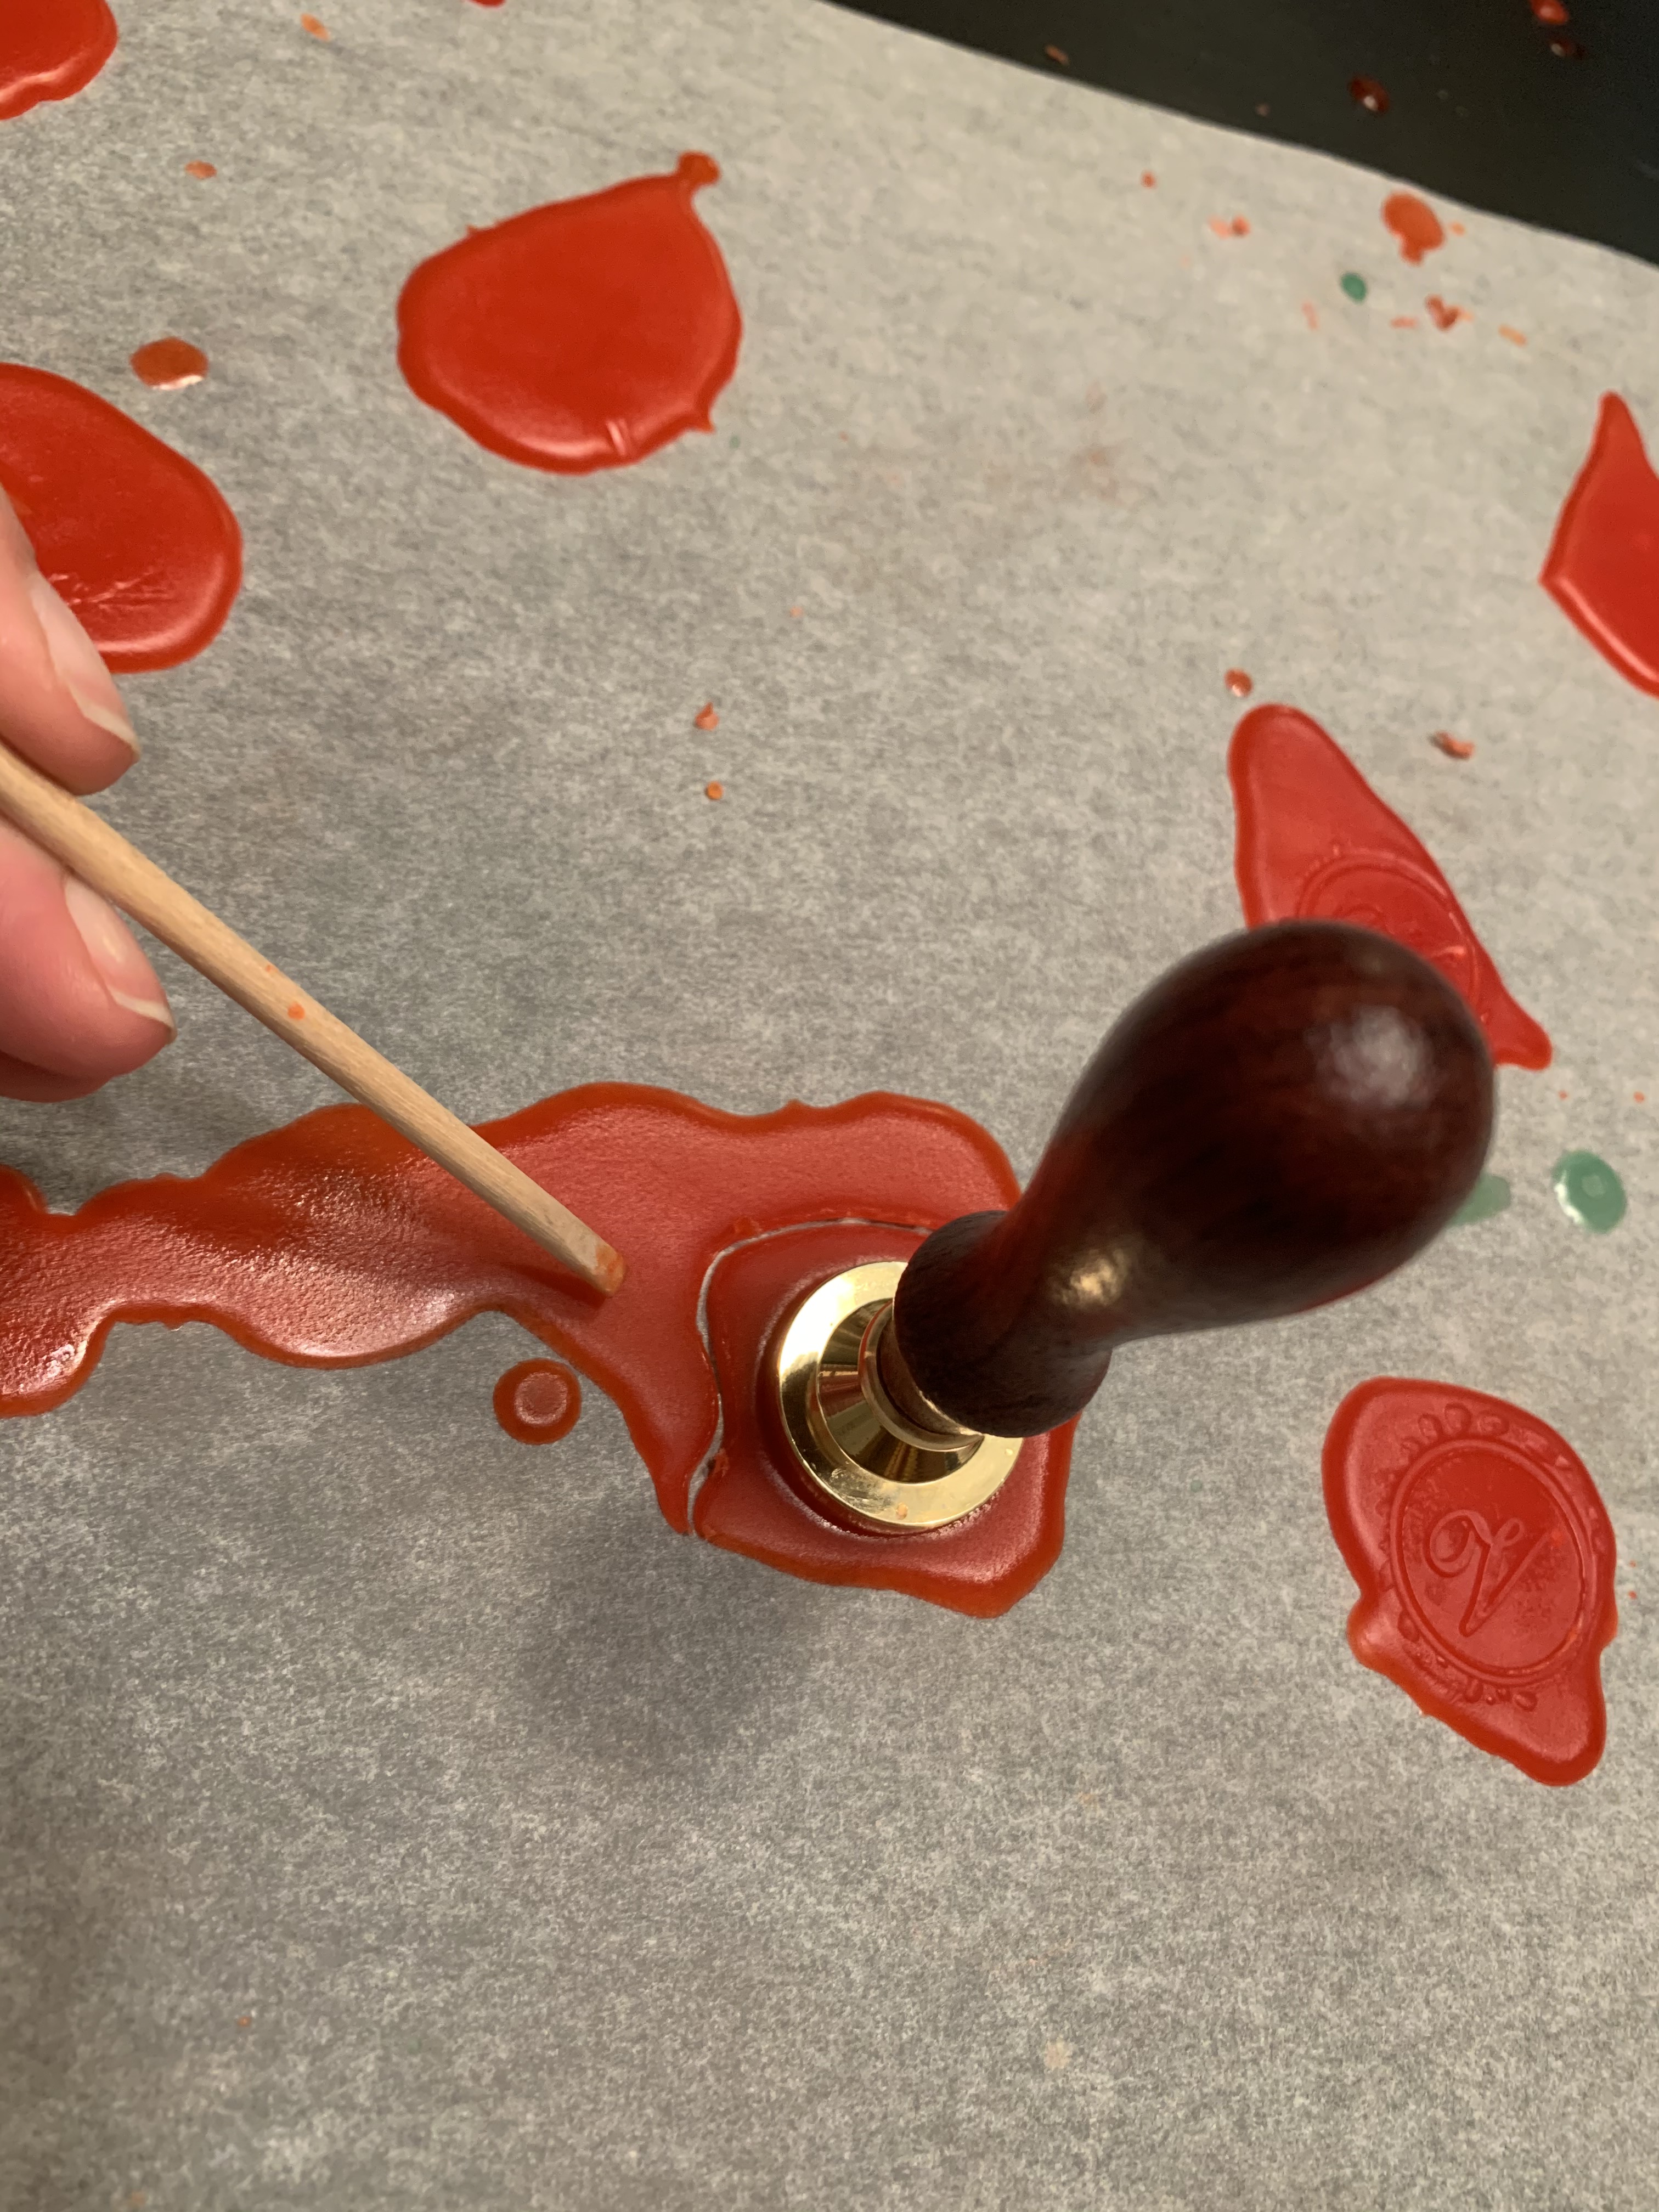
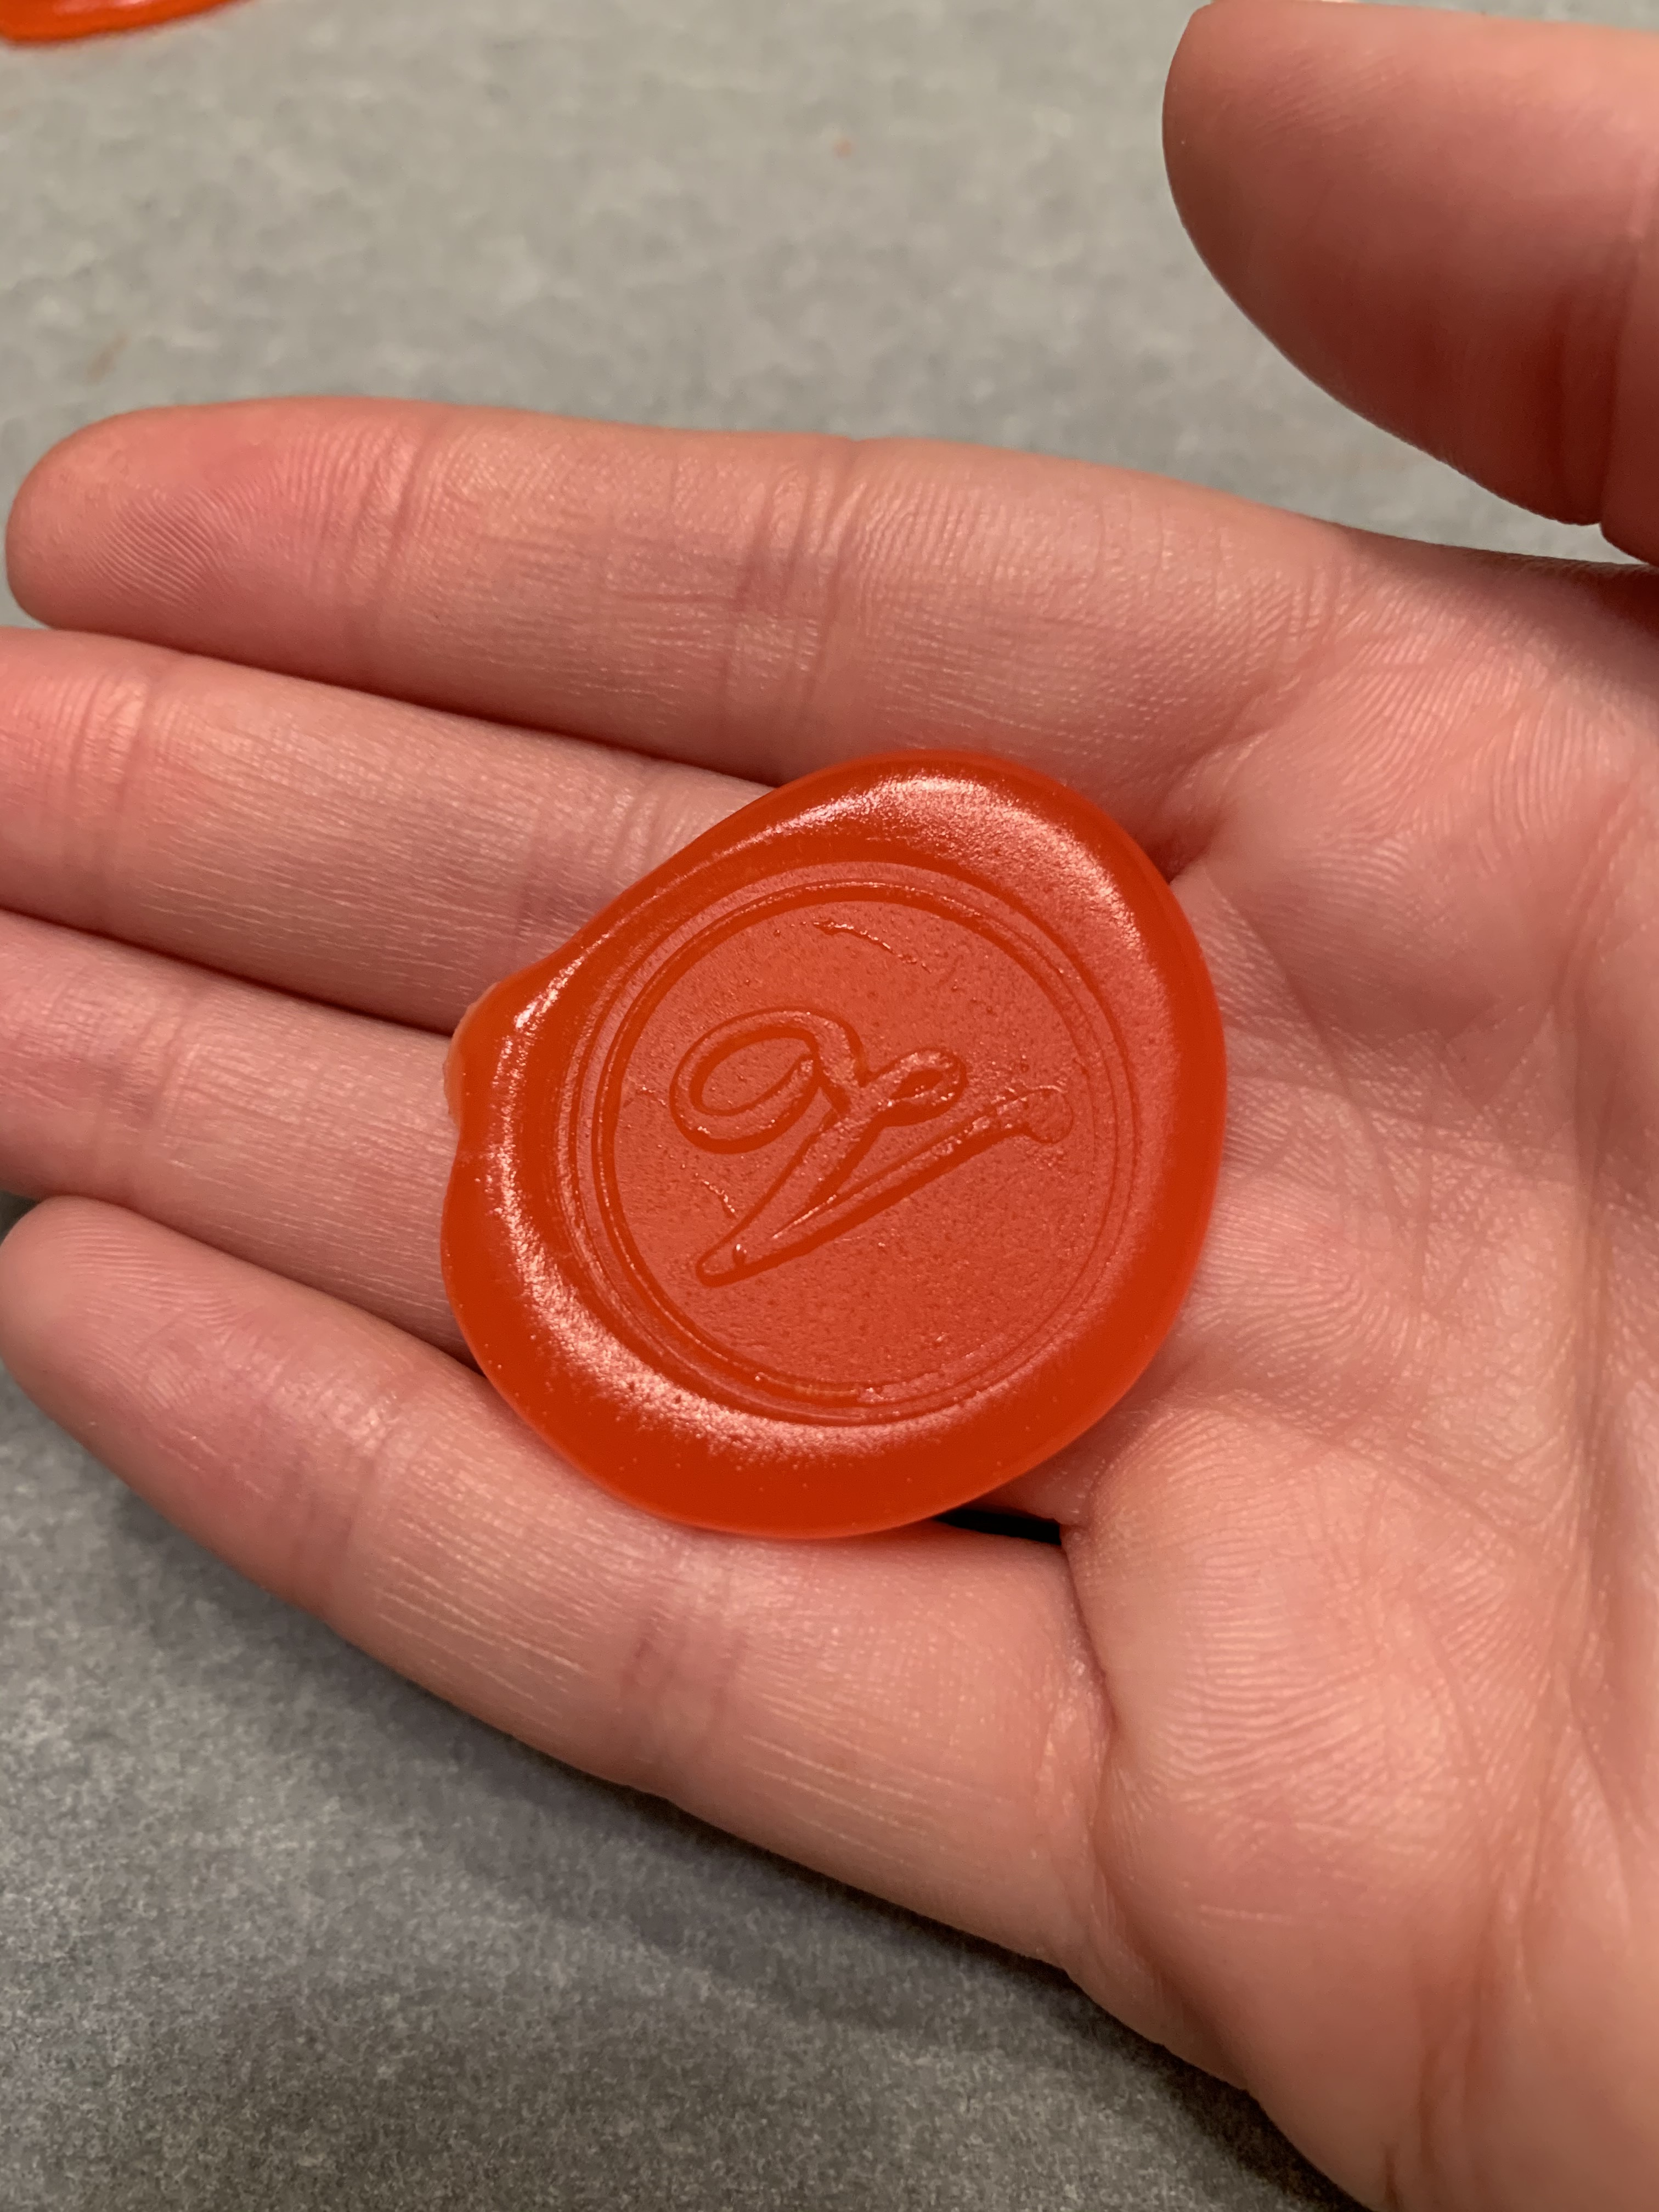
It’s time to stamp your wax!! Read below – it’s trickier than you think.
On our first tries, we used wax that was very hot and in a liquid state. That created thin stamps or it would not be a clean stamp engraved on the wax – there would be wax pieces that would come off or stick to the actual stamp head. The secret is to wait until the wax is almost dried before stamping them! Just like you can scratch a candle even when it’s in a hardened state, you can still stamp wax even when it’s practically dried!
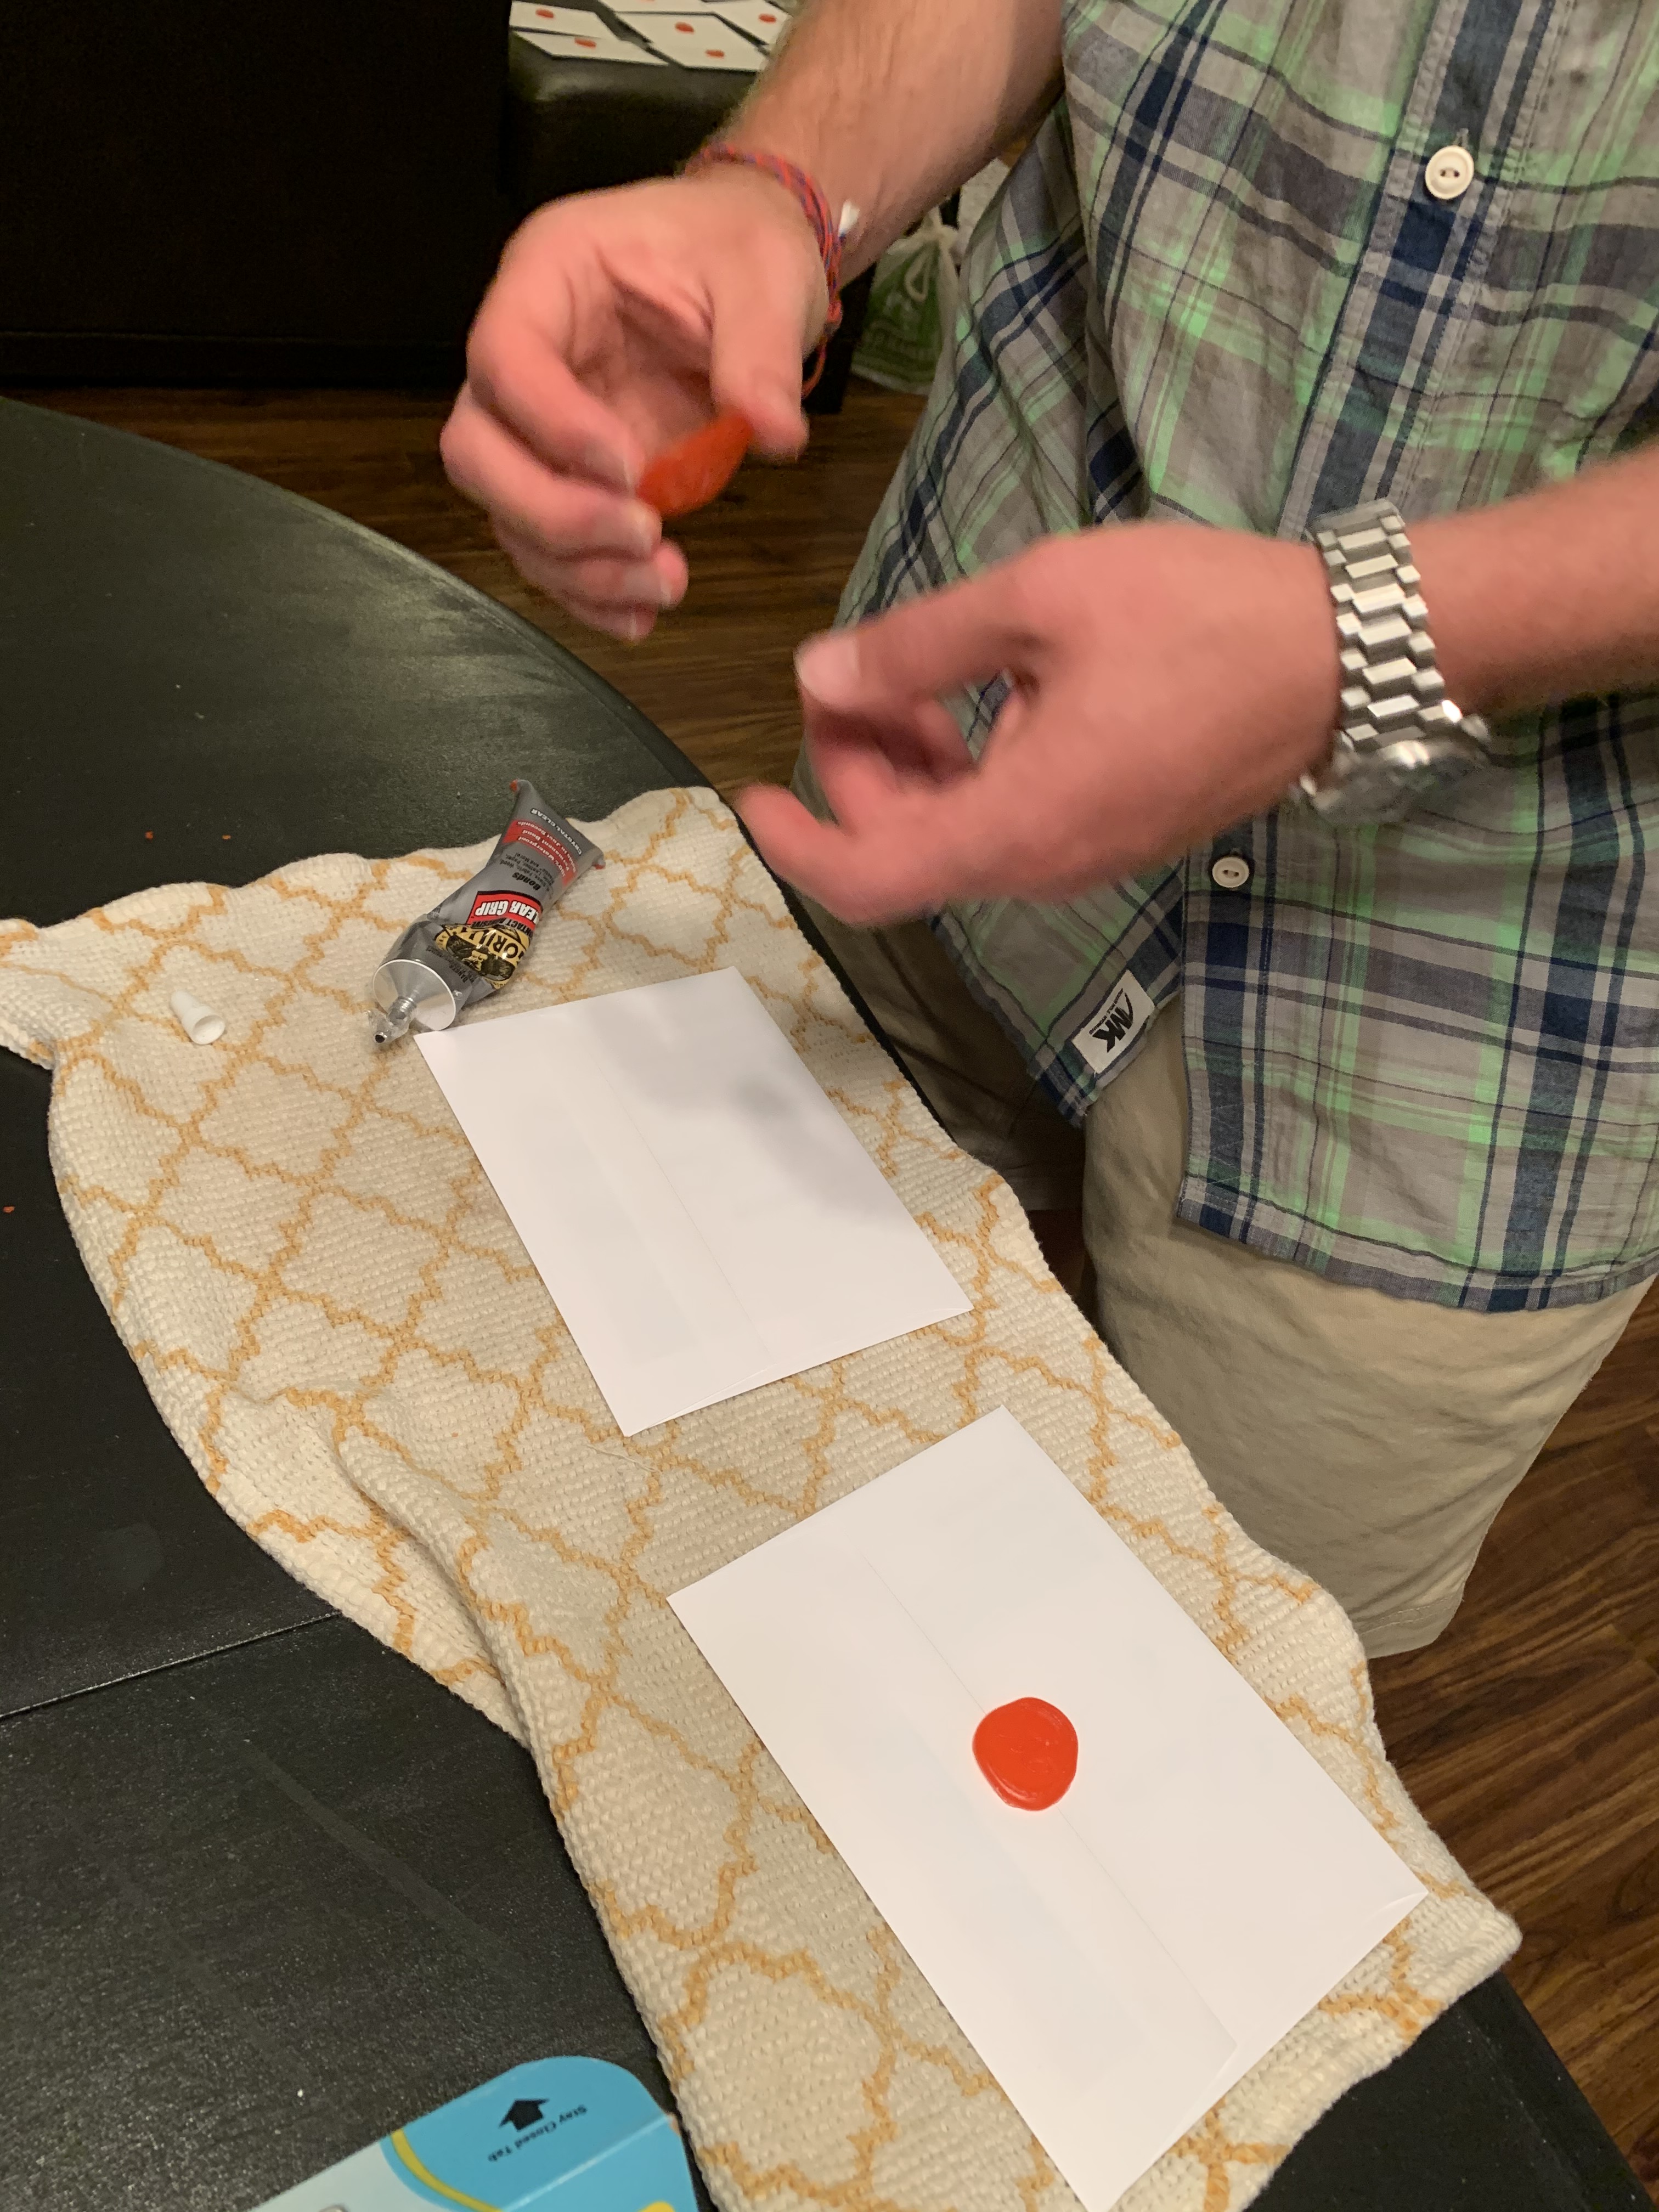
If you have a heavy-pouring hand, not to worry! You can always take a bobby pin, nail tool (like below), or something similar and craft a better shaped stamp. Oh, and what can you do with the extra? Put it in the pouring pot for the next time you need to melt wax down!
Last step alert!! Now it’s time to glue them onto the envelopes. We recommend doing this under a towel that you don’t care if you ruin – oh, and you can see the finished envelopes drying in the background.
Now you’re done! Comment with pics or feedback below please! What colors did you try for your wax seals? Xx
